To understand the pros and cons of load testing your API, we need to first understand the concept of load testing. To begin, we’ll look at a close relative of load testing: performance testing.

What Is Performance Testing?
Performance testing is a type of non-functional software testing approaches that assesses how well an application performs in terms of speed, scalability, responsiveness, and stability under various workloads. It’s a crucial stage to guarantee a high quality user experience.
Unfortunately performance testing is often seen as a separate process to undertake after functional testing is finished, and in many cases only after the code is prepared for release. This can lead to problems, so it’s helpful to consider performance testing a mandatory part of the development process of any API or website. In other words, performance testing should not be an afterthought.
Some of the objectives of performance testing include evaluation of program output, processing speed, data transfer velocity, network bandwidth use, maximum concurrent users, memory utilization, workload efficiency, and command response times.
Why You Need to Care About Performance Testing
Performance testing should be baked into everything you do in software development for the Internet, whether a website or an app. Performance testing allows you to:
- Check if the application complies with performance criteria (for instance, a given system should be able handle up to 1,000 concurrent users).
- Find an application’s computational bottlenecks.
- Verify whether the performance levels a software provider claims to provide are accurate.
- Assess the performance of two or more systems and determine the best one.
- Gauge stability during periods of heavy traffic.
What Is Load Testing?
Load testing is a primary performance testing method we use to assess an application’s performance under anticipated real-world stress.
To simulate a load of several concurrent users accessing the program, virtual users are generated. We assess various performance metrics and pinpoint performance bottlenecks via a simulated user load.
Through load testing we can write scripts that send the server a variety of requests, exactly like actual users would. These tools also provide a variety of setups, including:
- The quantity of virtual users or threads.
- Length of the load test.
- Performance characteristics.
- We may perform the load test and examine the test results after creating the script and setting up the test parameters.
Advantages & Disadvantages of Load Testing
First let’s take a close look at some of the advantages of load testing:
- Prior to deployment to production, it aids in the discovery of performance bottlenecks.
- It helps set up infrastructure in the best conceivable way. Terminating excess equipment can reduce the cost of the infrastructure. An extra machine may be installed in the event of inadequate infrastructure.
- By detecting and isolating the requests whose performance must be addressed, it reduces the chance of downtime.
- It conveys a sense of assurance and dependability in the effectiveness of the application.
Now here are some disadvantages to load testing:
- Many load testing tools require a license, which can cost a significant sum of money.
- Even with free and open-source technologies like JMeter, it is necessary to build an environment that is as like the production environment as feasible. This can result in further expense.
- The writing of load test scripts requires proficiency in the tool’s supporting scripting language.
- False performance concerns might result from a load test plan or script that has been incorrectly designed or programmed. Proper test design can require a significant amount of time and resources.
Although these disadvantages are valid, there are solid and cost-effective ways to perform Load Testing of APIs. Let’s look at our own tool: LoadView.
LoadView by Dotcom Monitor
LoadView empowers DevOps teams to stress test their websites, web applications, and APIs through concurrent connections from fully managed clouds.
Although this service is paid, the cost is nominal for the basic plans which is good enough for an individual and provides the option of high value packages which is more suited for a massive corporation.
You also get free tests for signing up, which is enough to support API testing of at least two projects.
Let’s say you have an existing API. Here’s how you can perform your first load test with LoadView Testing in five steps.
Step 1: Register/Log In & Receive Credits
Click here to see the LoadView Testing homepage. There you should see three distinct types of load testing services.
- Web Pages
- Web Application
- Web Services/APIs
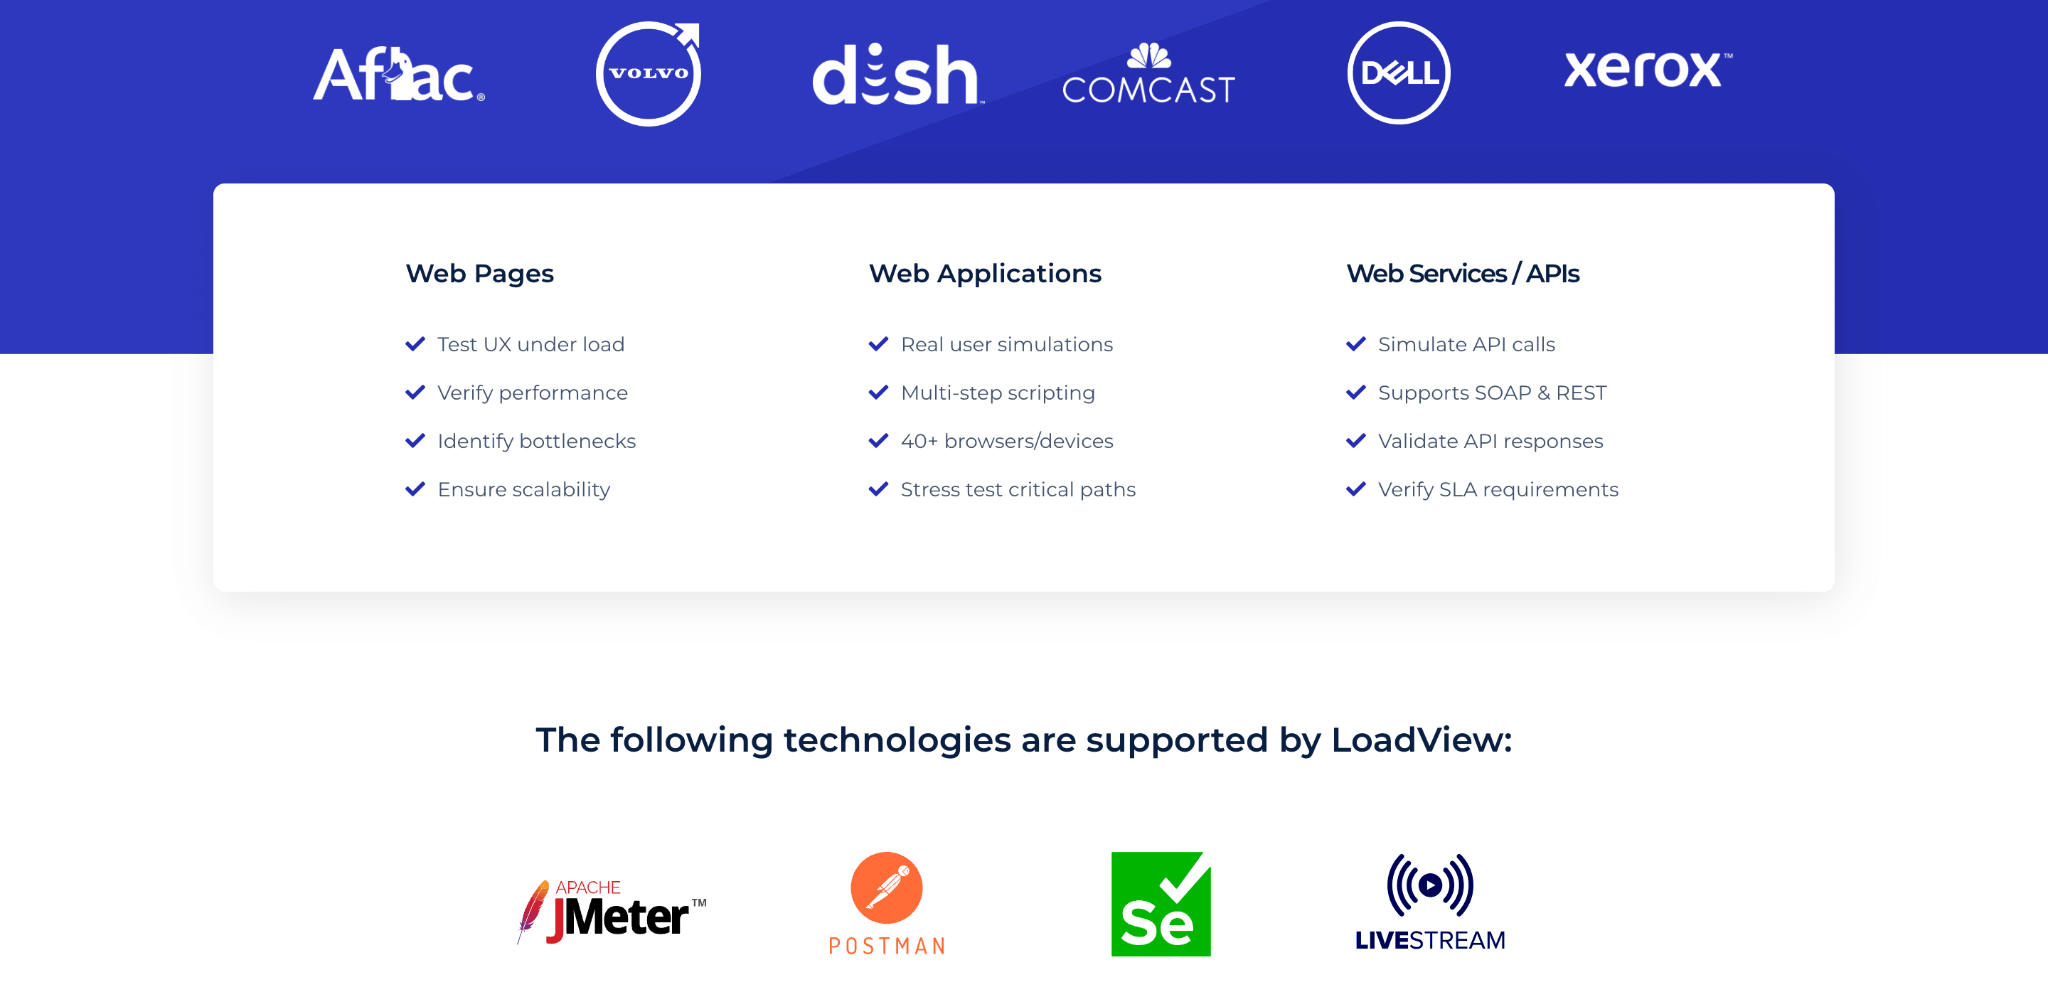
Select Web Services/APIs. To test your API, scroll down and select it.
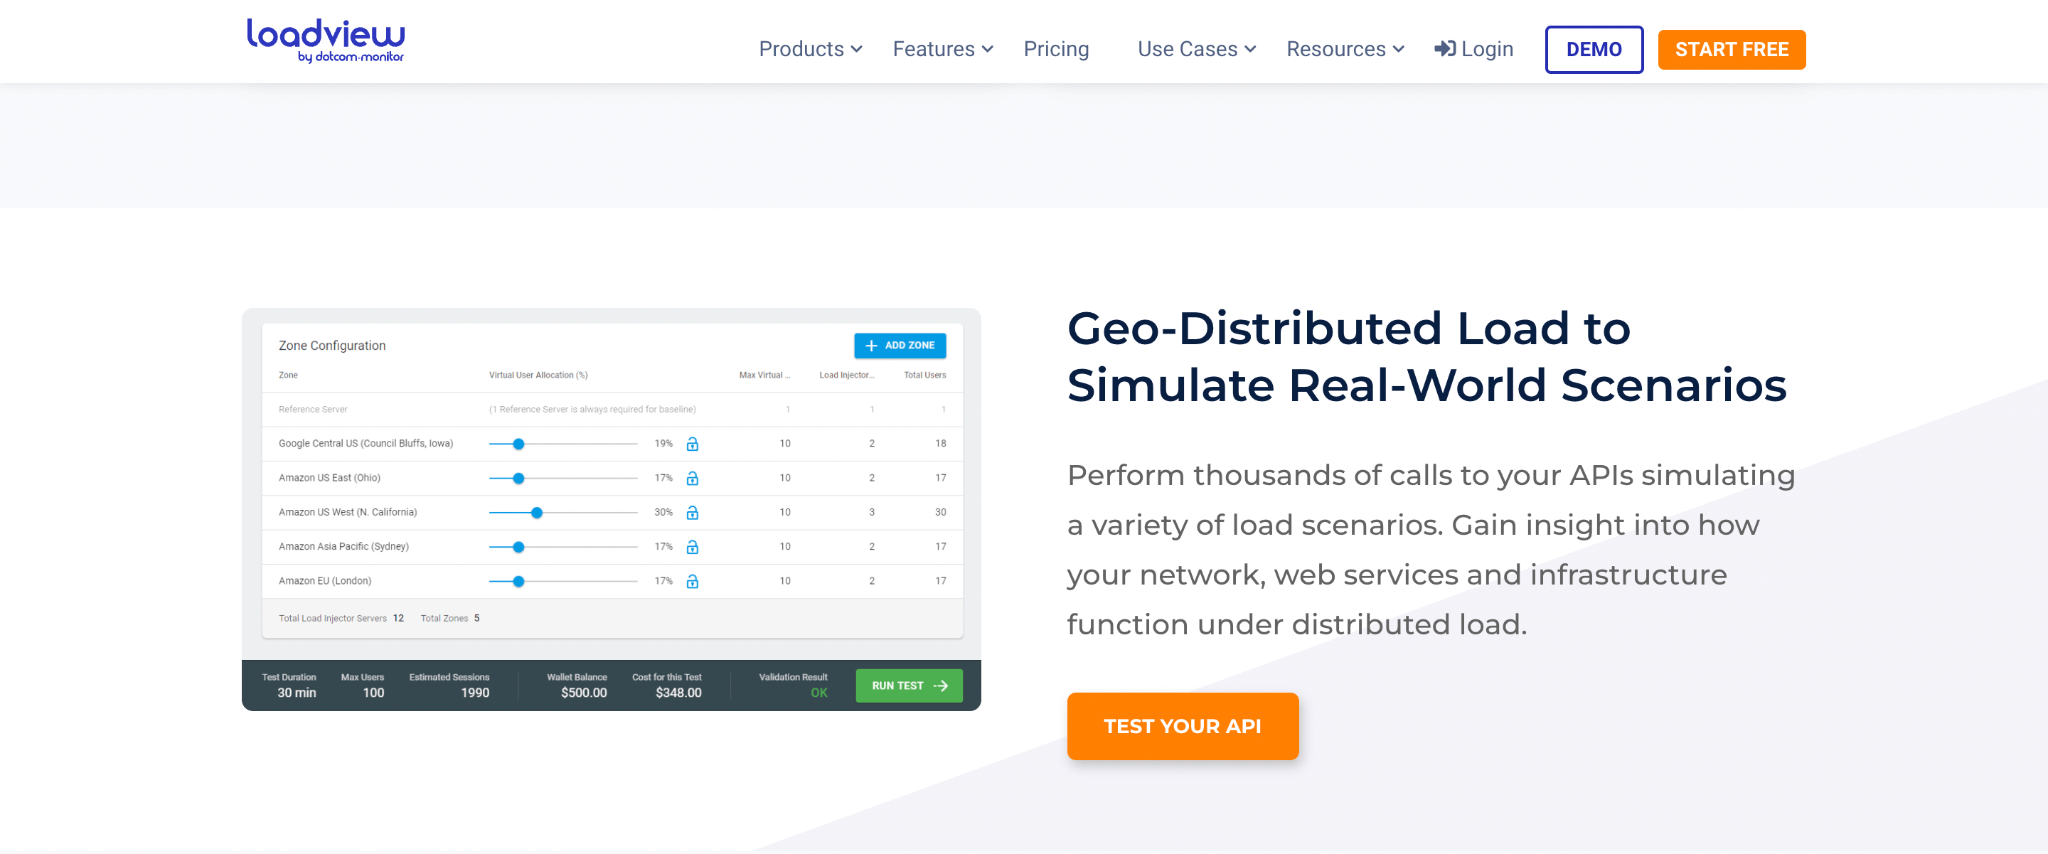
You will be prompted to sign up or log in. Once logged in, you’ll see you’ve received up to 5 free tests to run.
Upon registration you should be sent to this window:
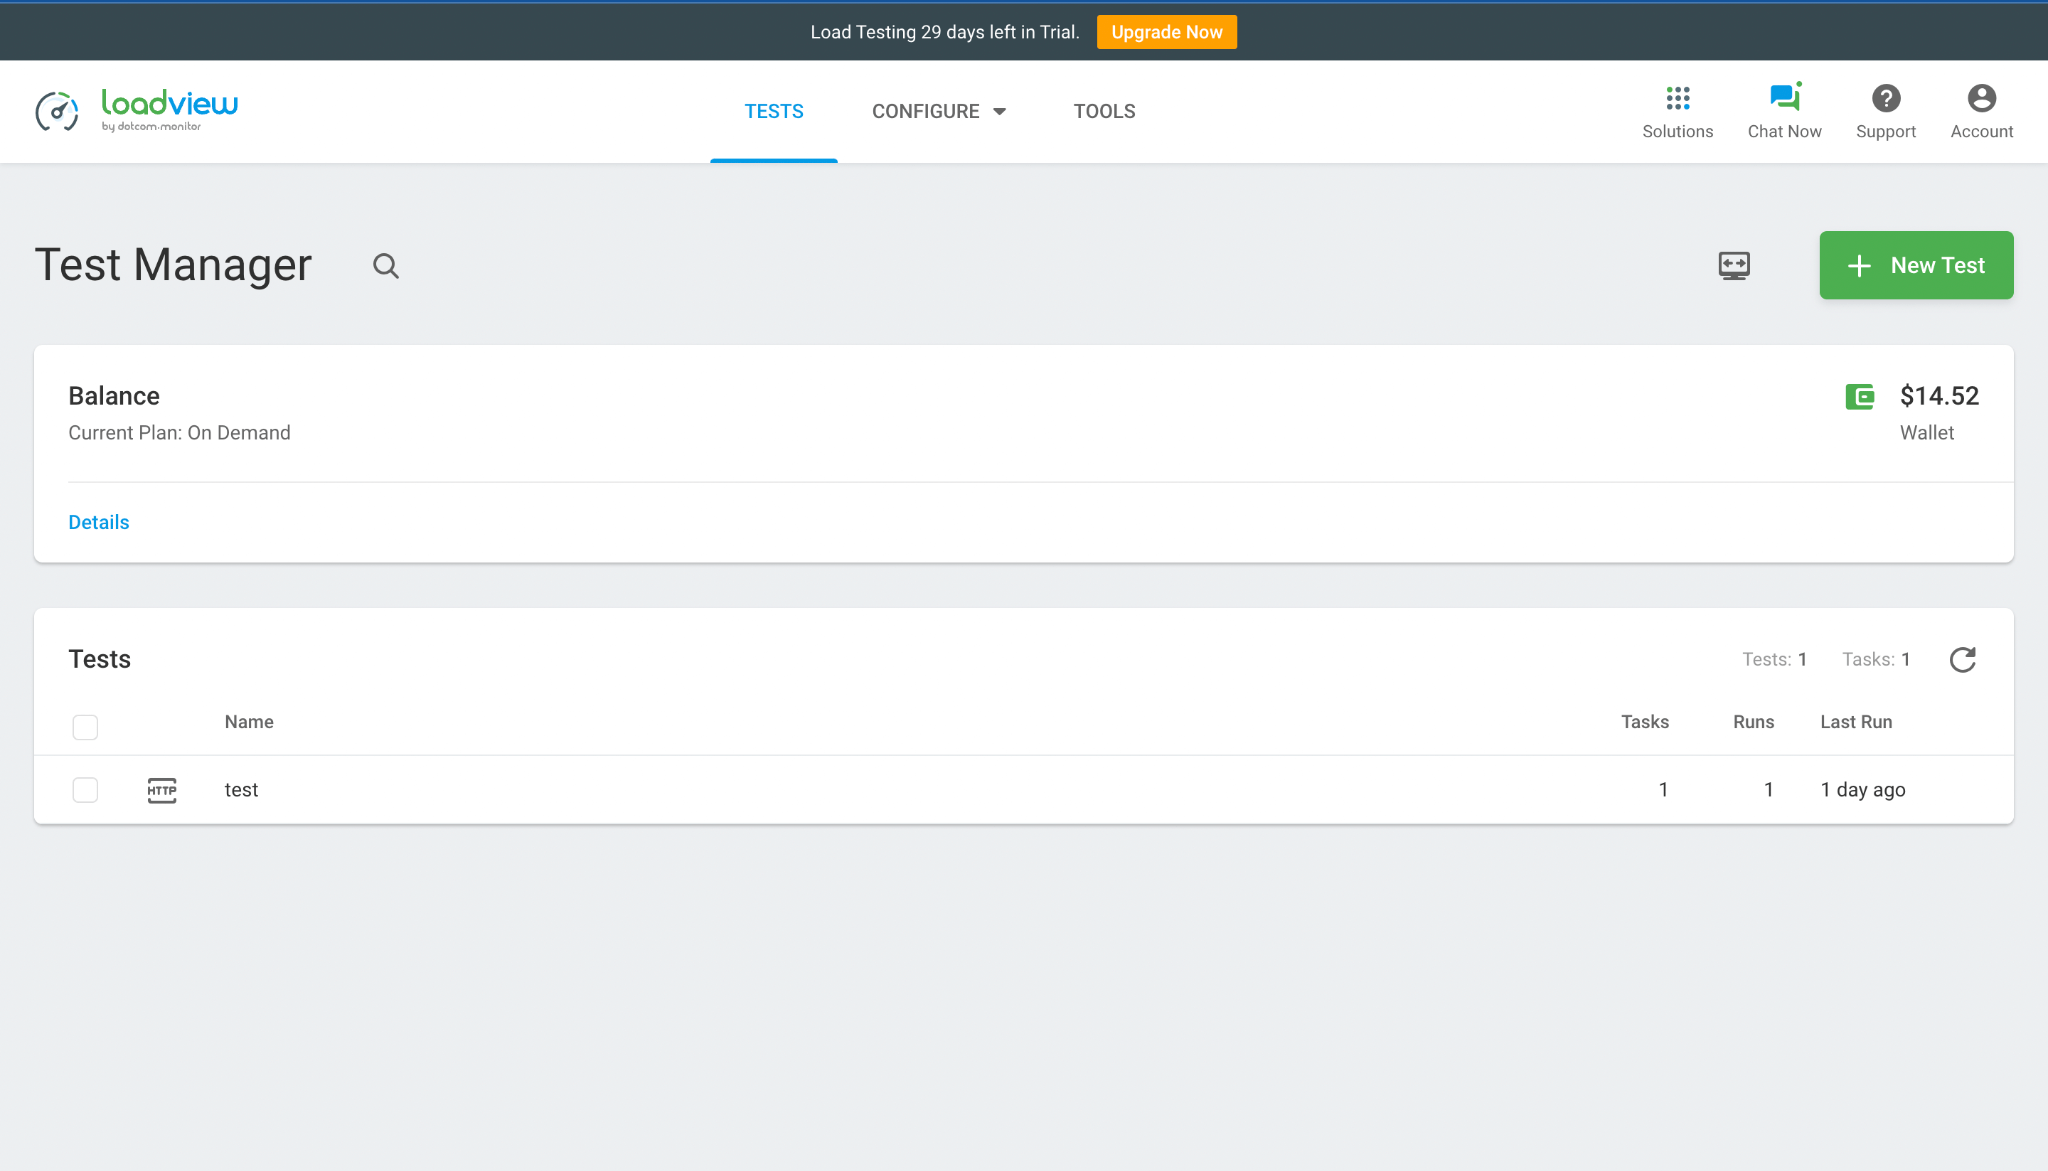
Step 2: Create a New Load Testing Device
Click the “+ New Test” button. You’ll be sent to the screen below.
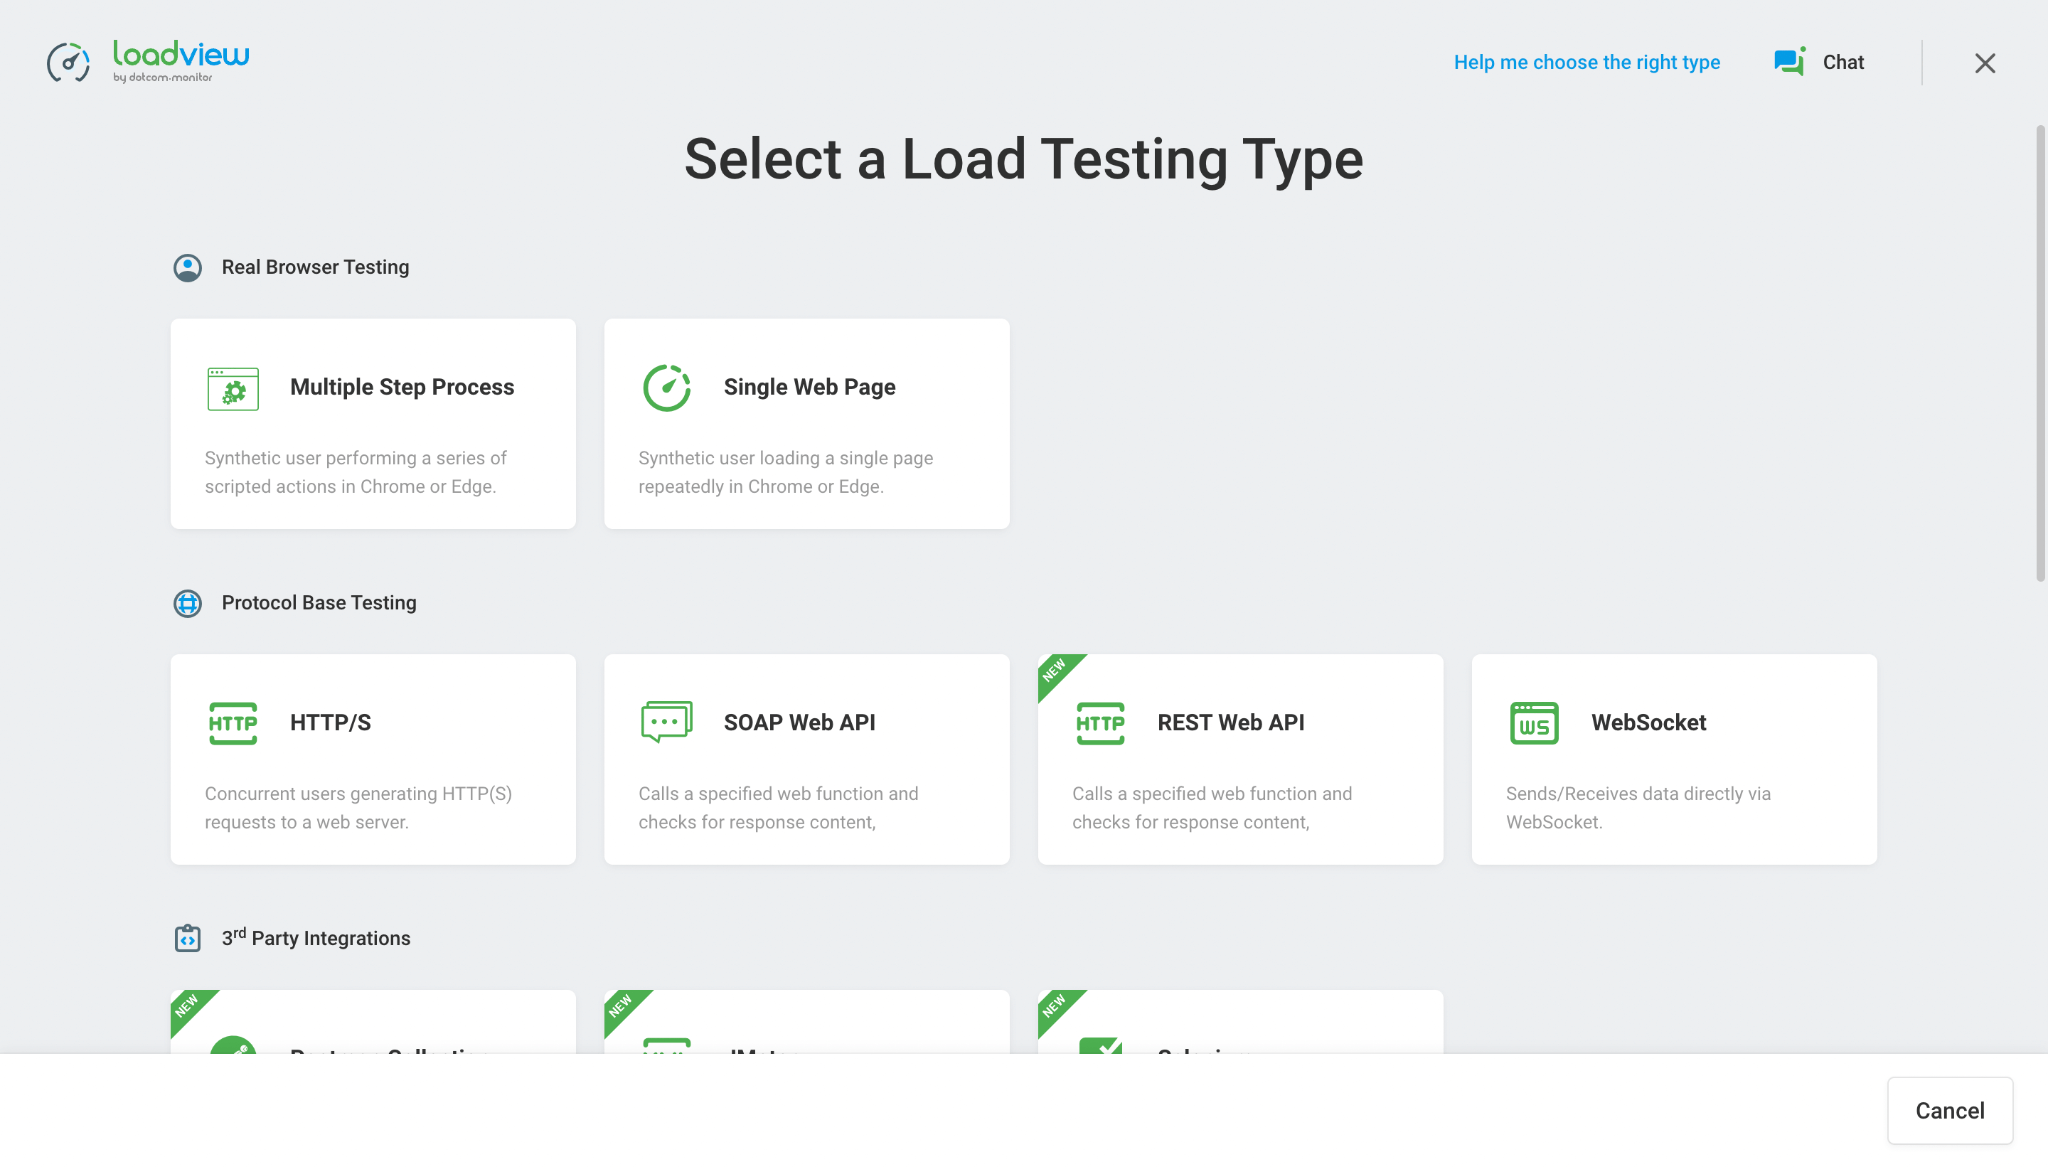
Depending on your API, choose the relevant Load Test Type from the list above. For this demonstration, we will use a REST Web API Load Testing Type because we have a REST Web API.
Step 3: Task Configuration of Load Testing Device
The task configuration window should now be visible. Your device’s title can be changed from “Untitled” to whatever you like. We recommend you provide a reference to the API tested in the device’s description as well.
Now that my API is operational locally, I must use the HTTP protocol rather than HTTPS.
If you turn on the detailed slider in the upper right corner, radio buttons will appear and you may choose the protocol you want to use. In this case, choose HTTP then enter the API’s domain and route in the hostname field.
Note: the procedures above are for locally created APIs. If you have an active API, you must choose the HTTPS Protocol.
Type “IP” in the parameter name and “106.201.85.245” in the parameter value after clicking “Add Parameter.”
Once you’ve properly completed the steps above, the task configuration URL form should resemble this:
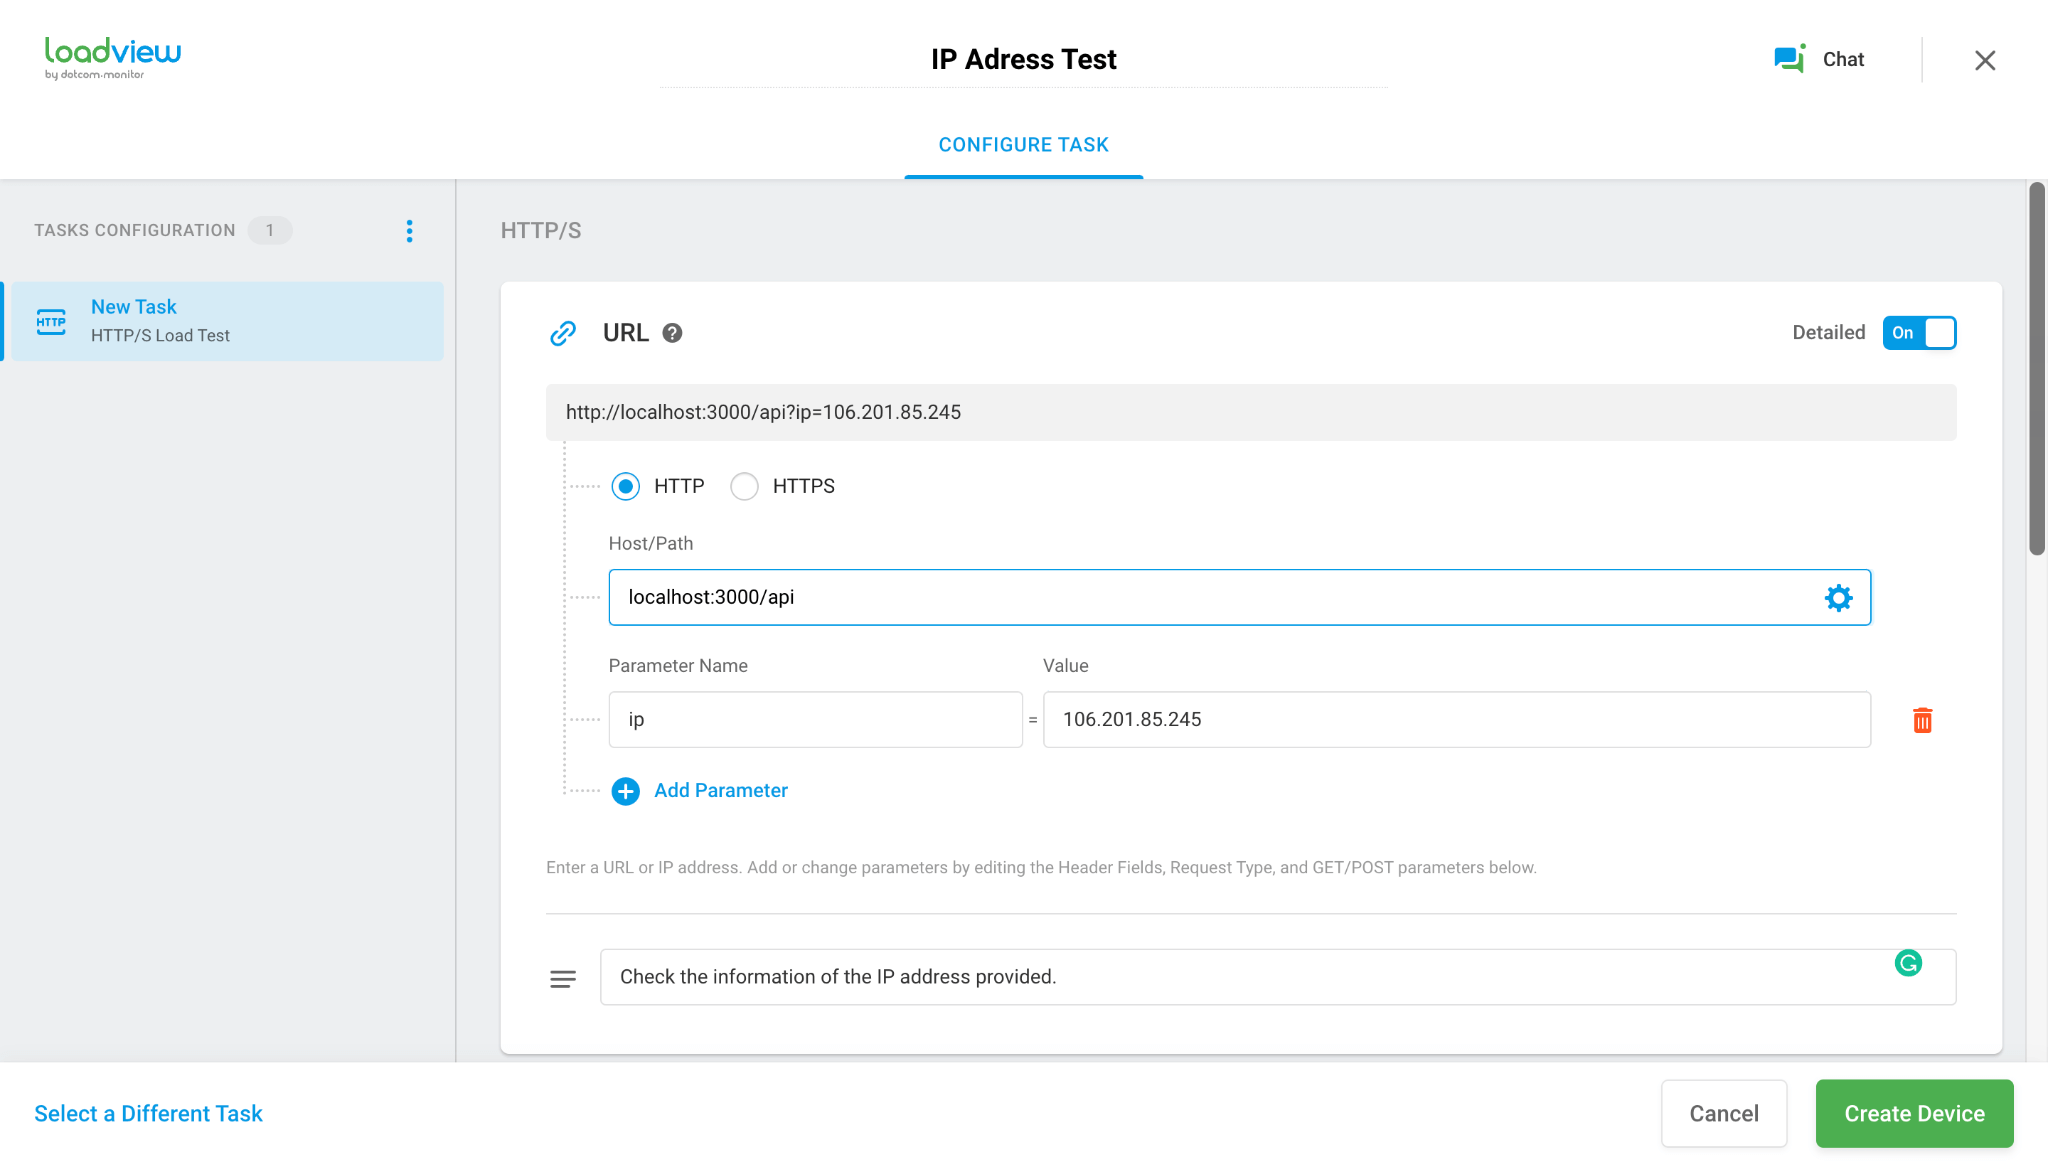
Access the settings window by scrolling down. Since this demo API only supports get requests, we can leave the default request type of GET in place.
Step 4: Create a Scenario
Your use case will determine how you approach this section. We’ll be using a load step curve with a predefined number of fluctuating users for our REST API. We don’t require a highly thorough report because this demo API is rudimentary.
You may go to the LoadView knowledge base here to learn more about construction a scenario.
Step 5: Final Report
Now your API undergoes load testing. This usually takes seven to ten minutes minutes.
You can simultaneously check the report or you can later receive the detailed report on your email.
Want to learn more about our LoadView testing platform? Consider signing up for a free trial and one-on-one demo with a load testing expert today. We’ll be glad to hear from you.