Software development is a massive process, and a key component of that is maintenance. As an application’s popularity grows, the number of users of course also increases. This can cause application to crash due to heavy load.
What Is Load Testing & Why It’s Essential
Load Testing assesses our software under a varying load of virtual users and records the response time and any errors that occur. This famous case study is a notable example of why load testing of our software is essential: February 2020 UK Heathrow Disruption.
– Geeks for Geeks
About the LoadView Testing Platform
The LoadView platform is one of the few browser-based performance testing tools that provides hassle-free, detailed reports on tests of websites, APIs, and applications.
LoadView supports RESTful APIs such as JSON and XML, as well as SOAP and Web APIs that require authentication or multi-step execution. In this article we focus focus on Web APIs and how we can these these in five simple steps.
Using LoadView to Load Test APIs: Create an API for Testing
Let’s create an API to use with LoadView.
Note: you may skip this process if you already have an API ready to be tested.
For the purposes of demonstration, we’ll create a simple API using nodeJs. The goal of the API is to input an IP Address and receive information regarding said Address. We’ll use MacOs for this. Windows and Linux users may change the input code according to their OS.
First let’s initialize a project:
| npm init load-tester |
Once the process is complete, you’ll see a package.json file in your directory.
Now we will install two dependencies: Axios and Express, which we need to make our API:
| npm i axios express |
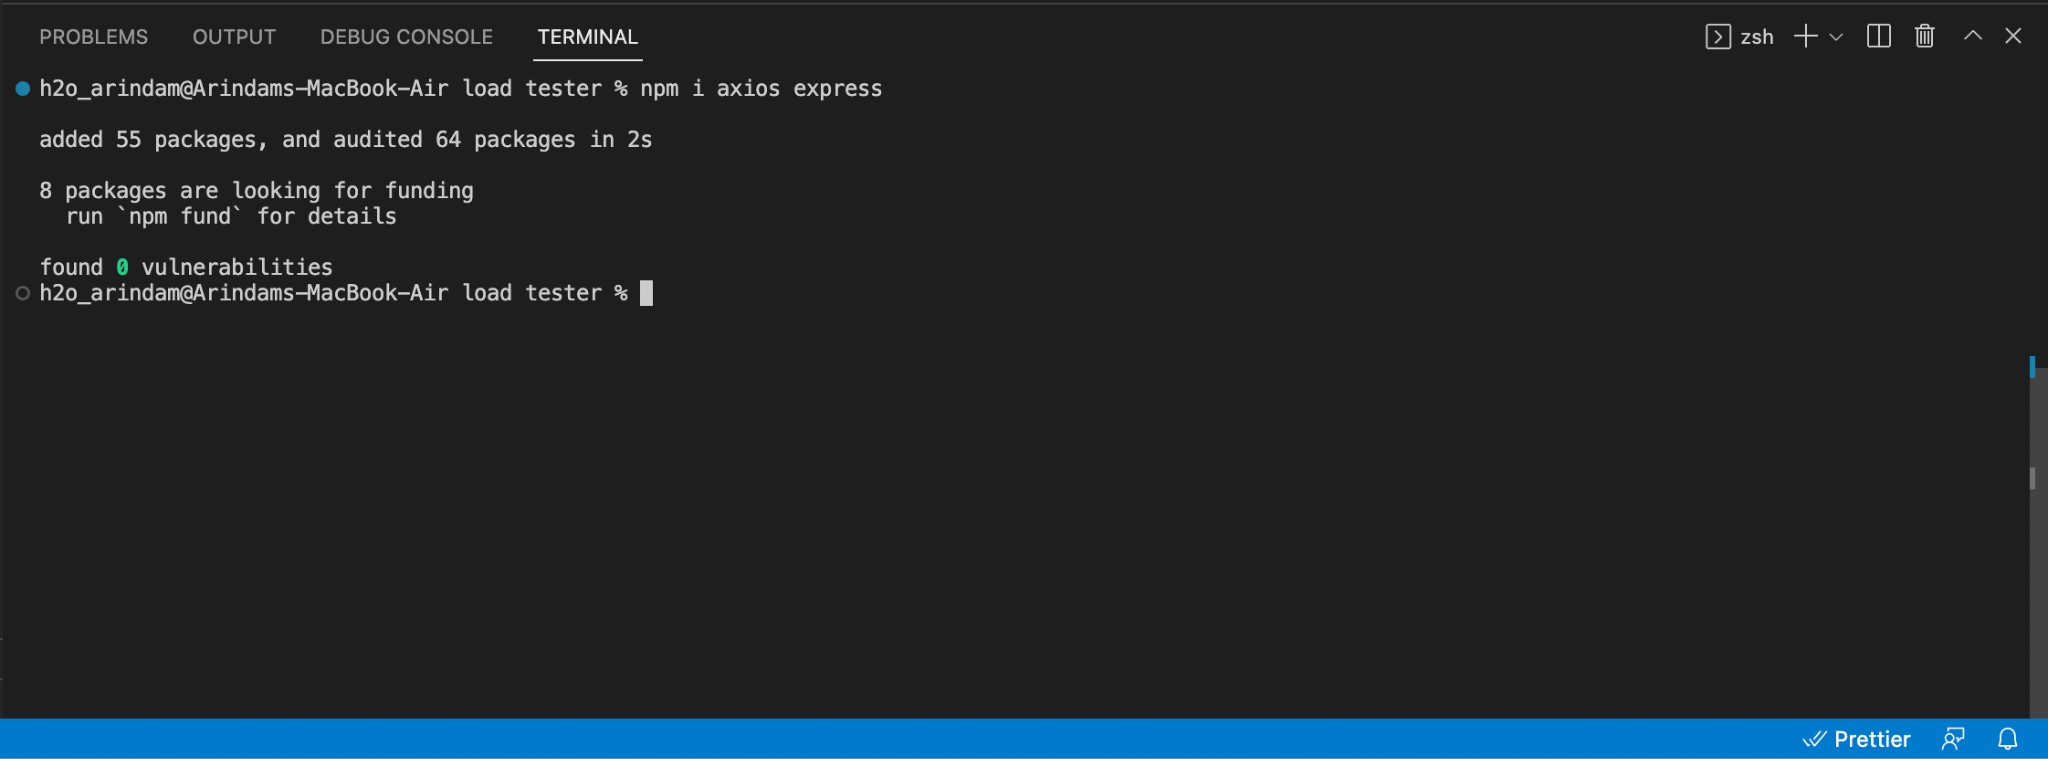
Now our node app has successfully initialized. To run it, open your “package.json” file and add the following start script, and type this script:
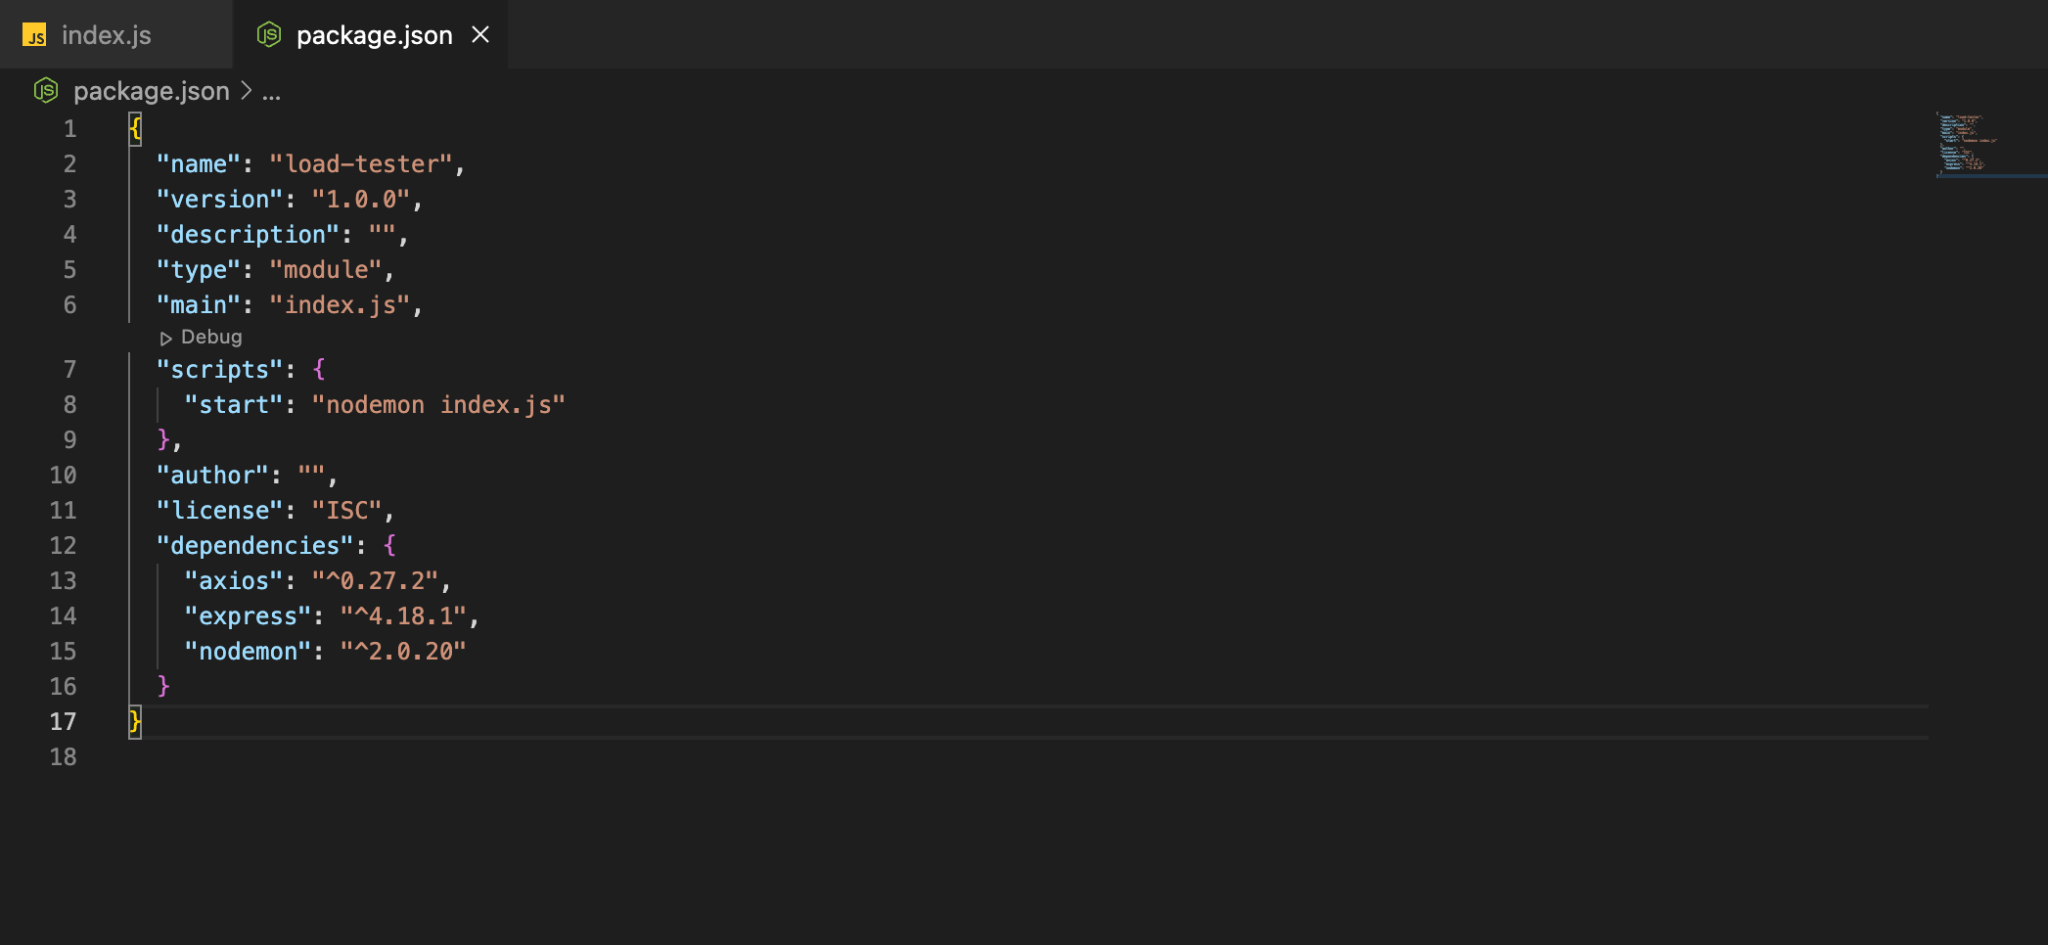
Before proceeding, we need a tool called Nodemon from npm that restarts the server each time we make changes.
| npm i nodemon |
Now in the same directory, create a new file called “index.js.”
Copy this code into your index.js file:
import app from "./app.js"

const server = app.listen( 3000, () => {

app.use("/", (req, res) => {

res.end("Hello world!")

})

console.log(`server listening at http://localhost:3000`);

});
So we can finally run our file. In the terminal run the following:
| nodemon |
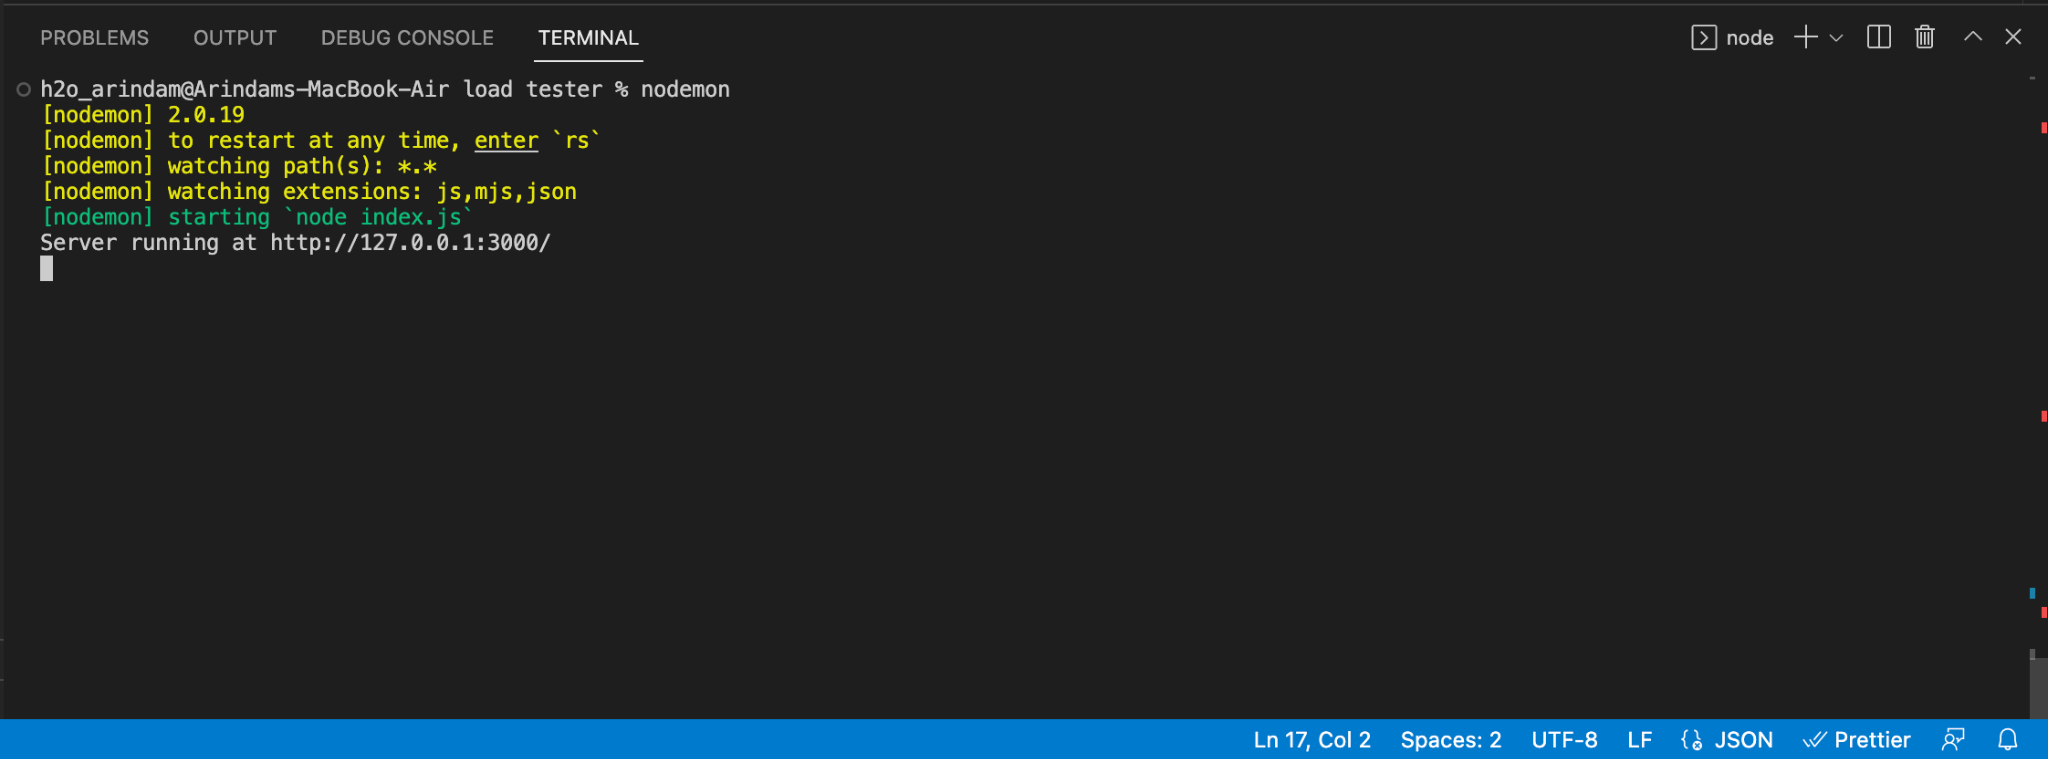
Now it’s time to check if our API is running or not. In this demo we’ll use VS Code extention THUNDER CLIENT, but you can use any software you like.
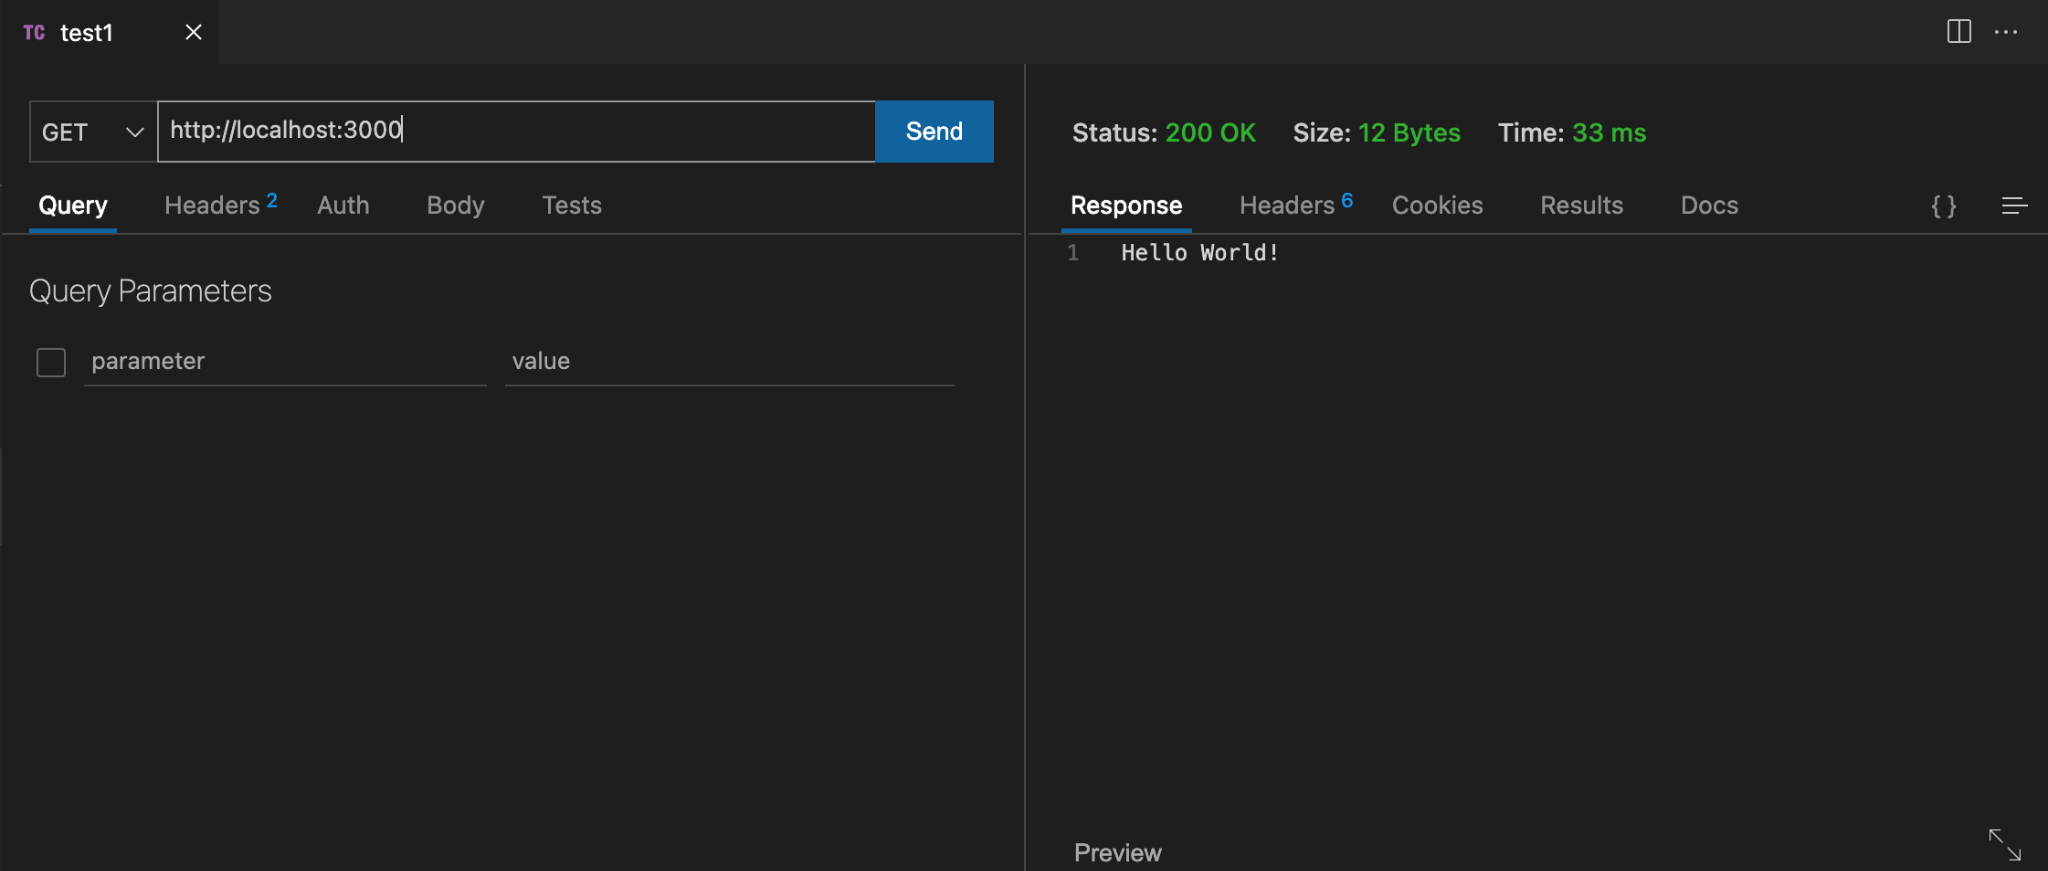
Make a GET request on http://localhost:3000 and you should receive a text response “Hello World!”
To imitate a hefty task, we’ll use ipinfo.io which is a 3rd party API that sends all the IP information in response of the API. And to use the API itself we need Axios.
Make a new file app.js and copy the following code:
import express from "express";

const app = express();

import axios from "axios"

app.use(express.json())

app.get("/api", async (req, res) => {

try{

const result = await axios.get(`https://ipinfo.io/${req.query.ip}/geo`)

console.log(result.data)

res.json({

"result": result.data

})

}

catch(err){

res.json(err.error)

}

})

export default app
Now you should be able to see this in your console:
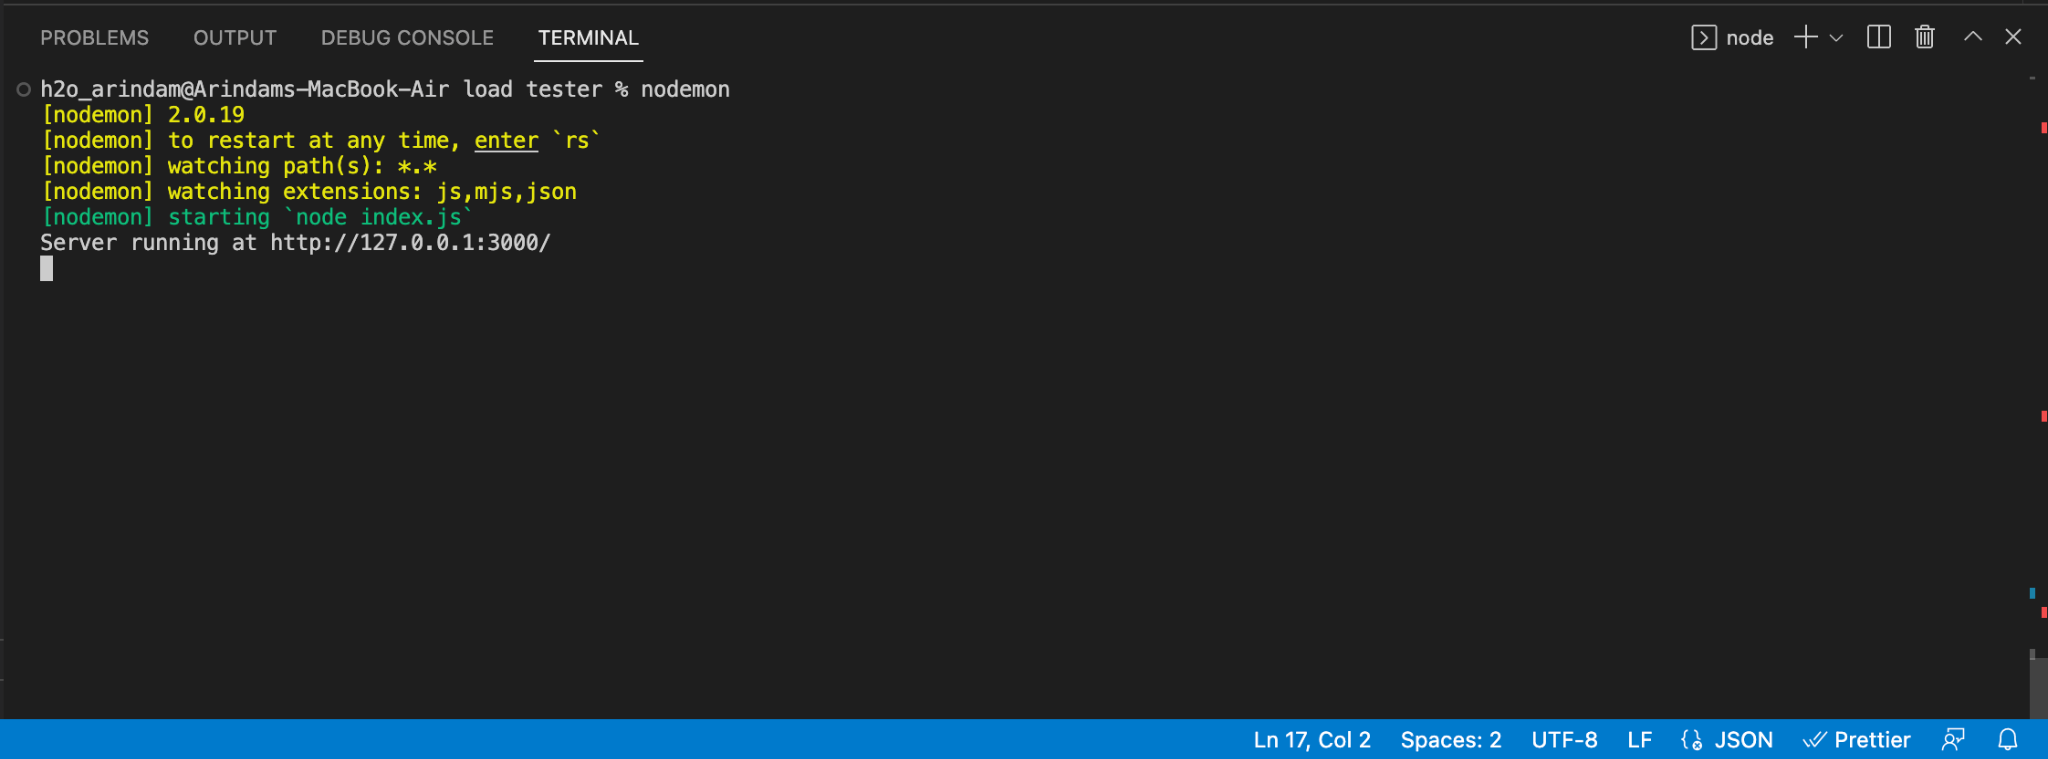
Now let’s test our API with the Thunder client.

You should now see we have implemented the IP address search by passing the IP address as a query parameter in the URL.
Using LoadView to Test Your API
Step 1: Sign/Log in to Recieve Credits
At loadview-testing.com you’ll find three distinct types of Load Testing services:
- Web Pages
- Web Application
- Web Services/APIs
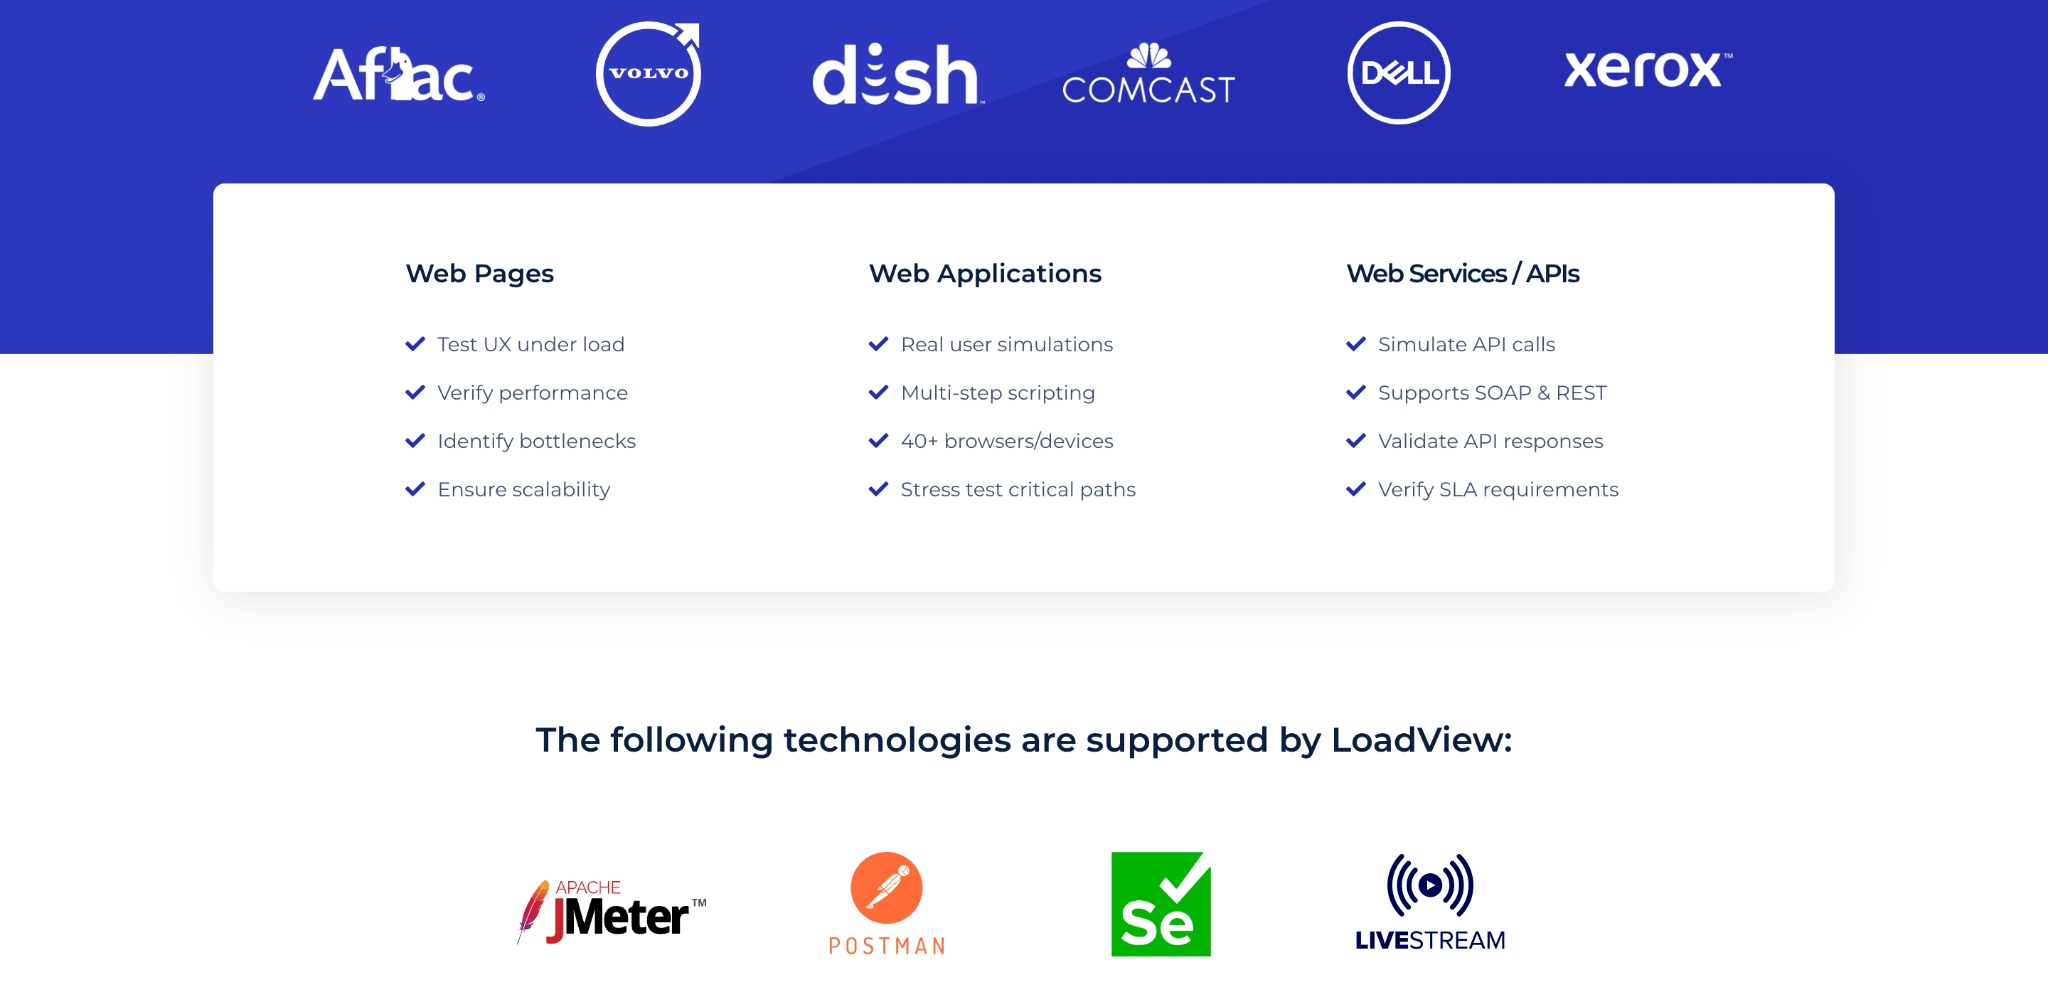
Click on Web Services/APIs. Scroll down to “TEST YOUR API” and select it.
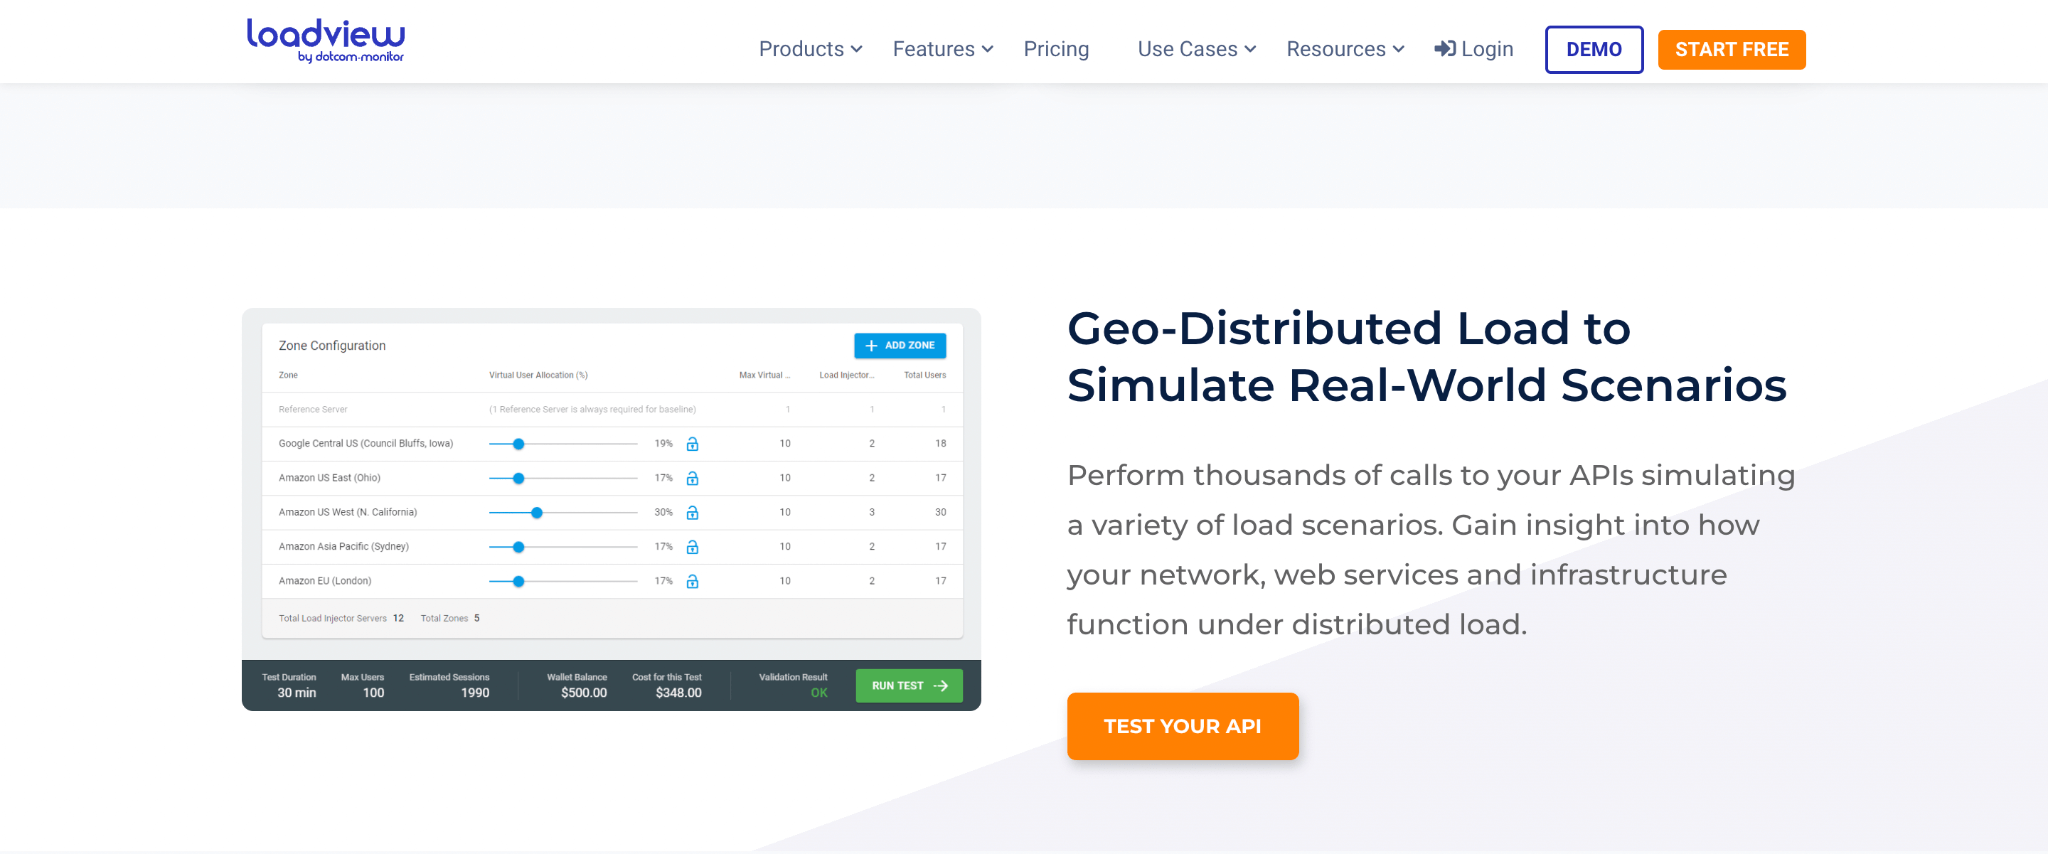
You’ll be asked to log in or sign up if you are a new user.
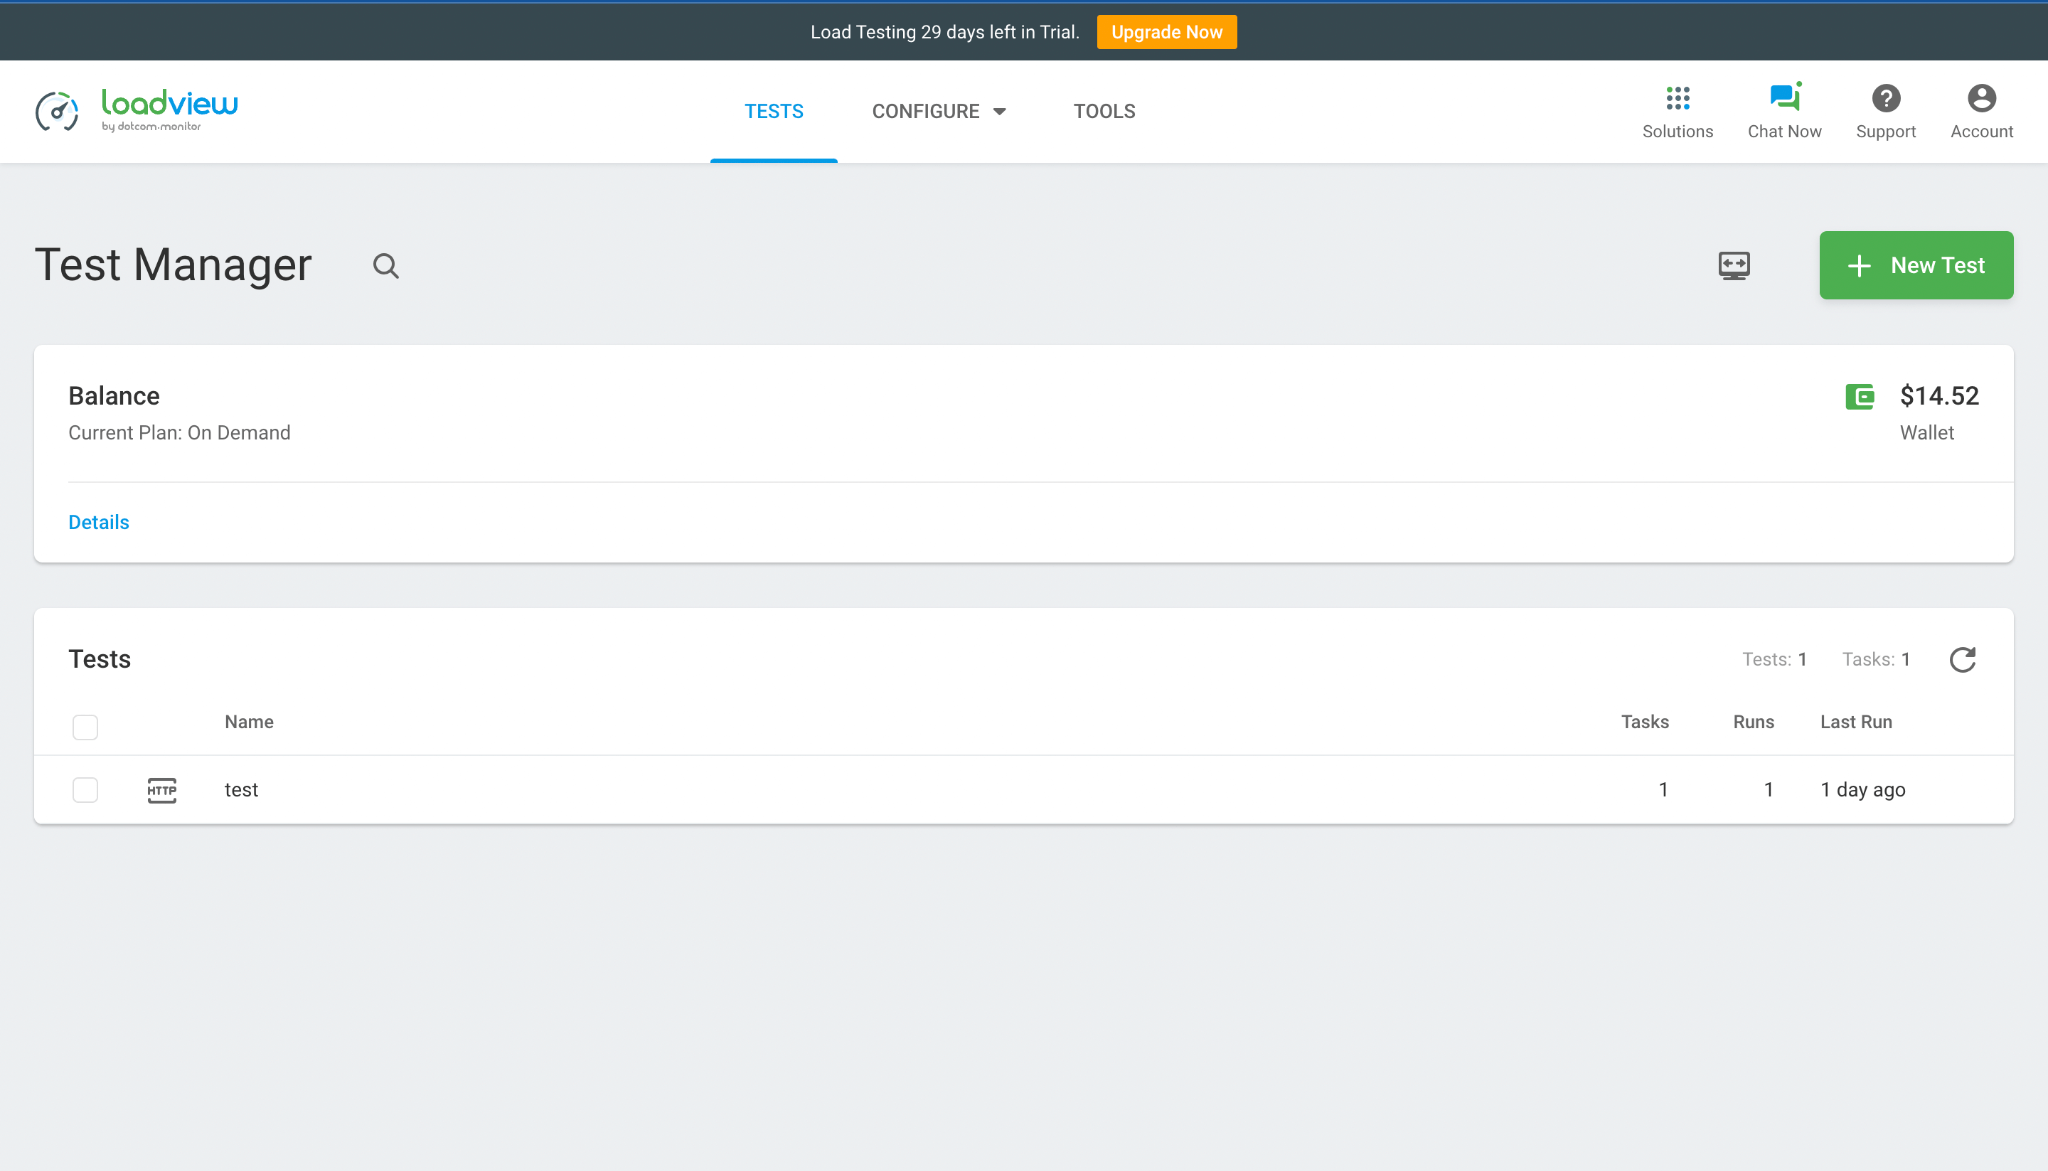
Upon registration, you’ll receive up to 5 free load tests which can be used to trial the premium testing services. After a successful registration you should be redirected to this window:
Step 2: Create a New Load Testing Device
On the top right, click the + New Test button. You’ll be redirected to the screen below:
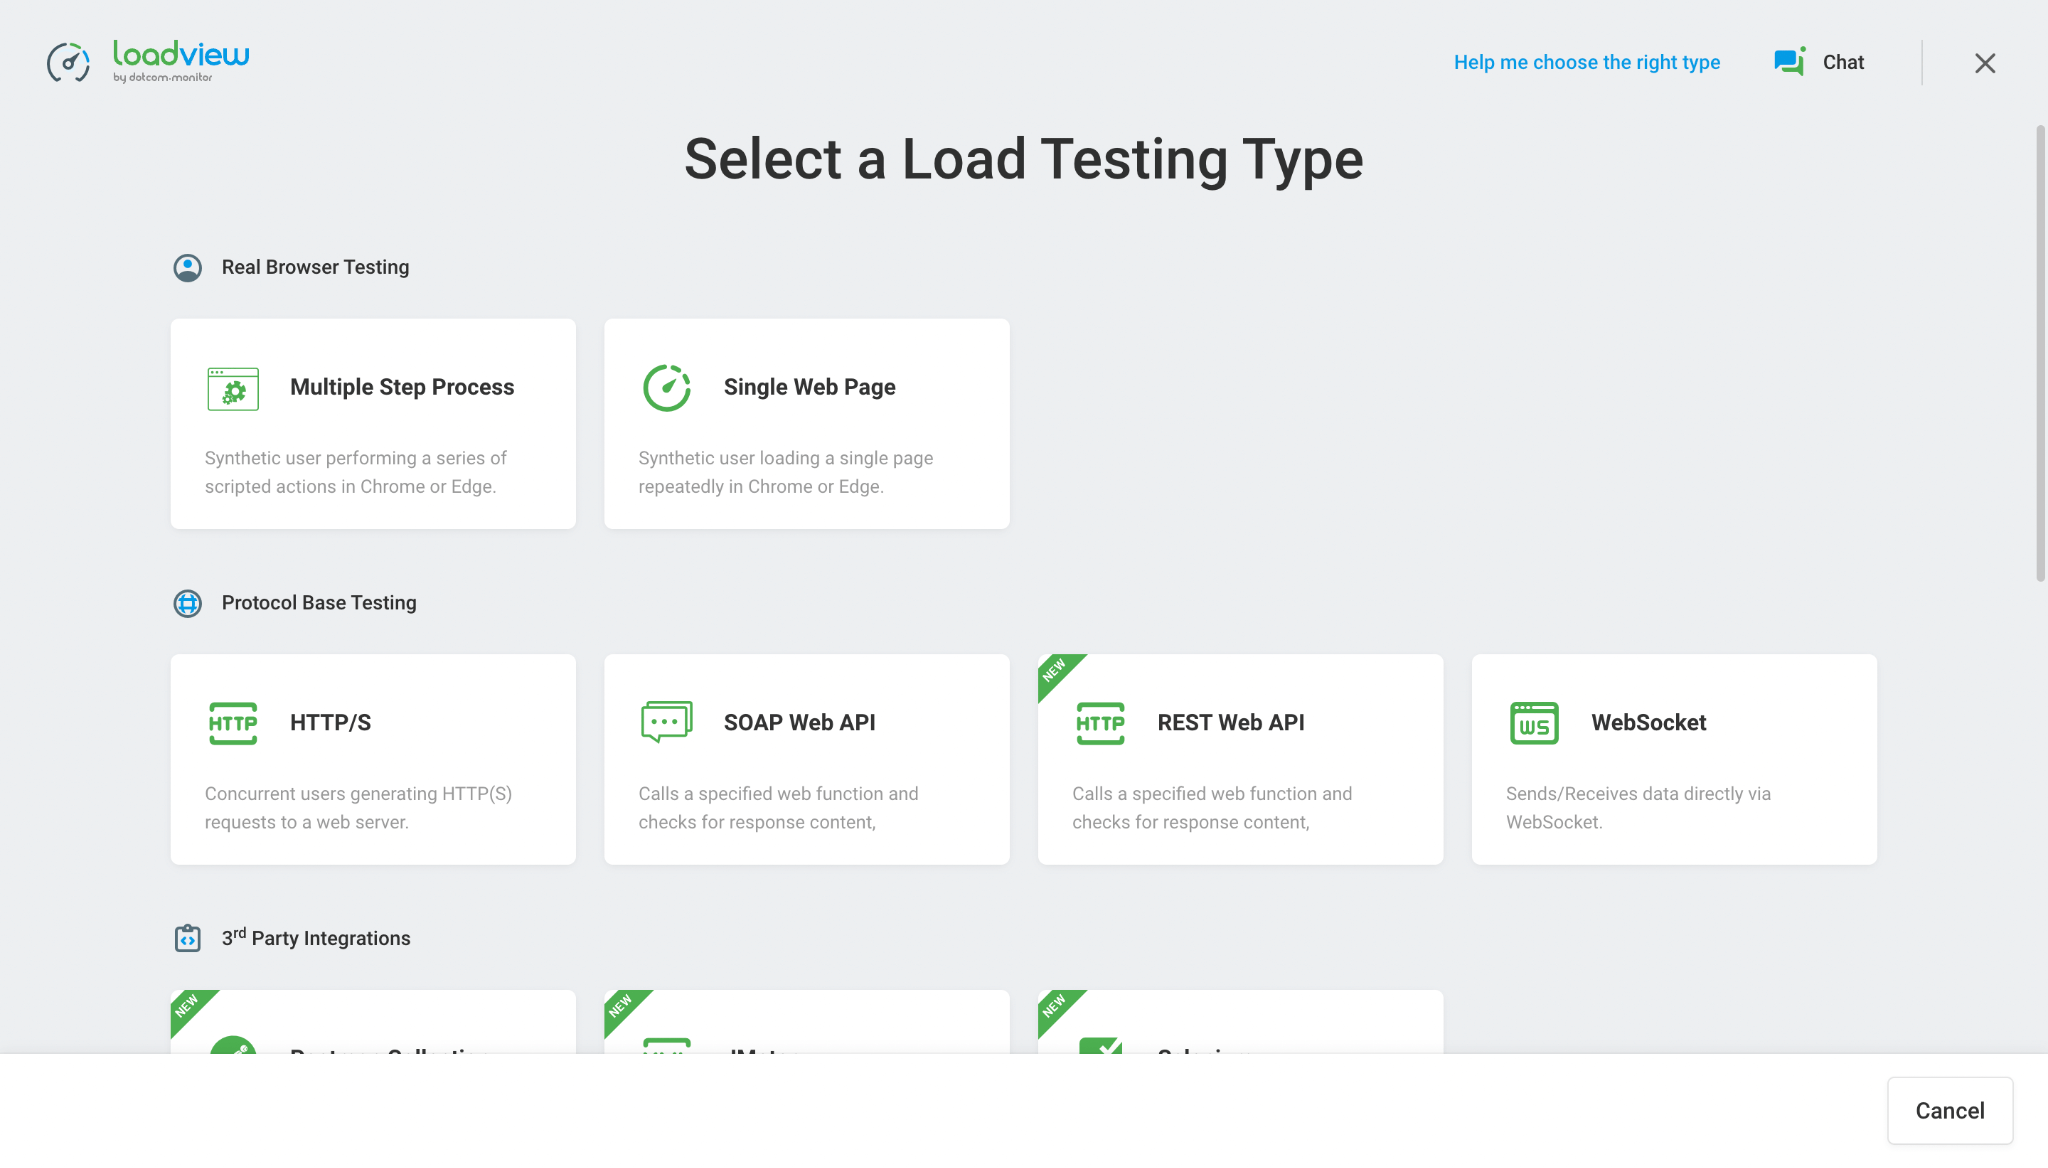
Select the appropriate Load Test Type from the above according to your API. Since we have a REST Web API, we will use a REST Web API Load Testing Type.
Step 3: Task Configuration of Load Testing Device
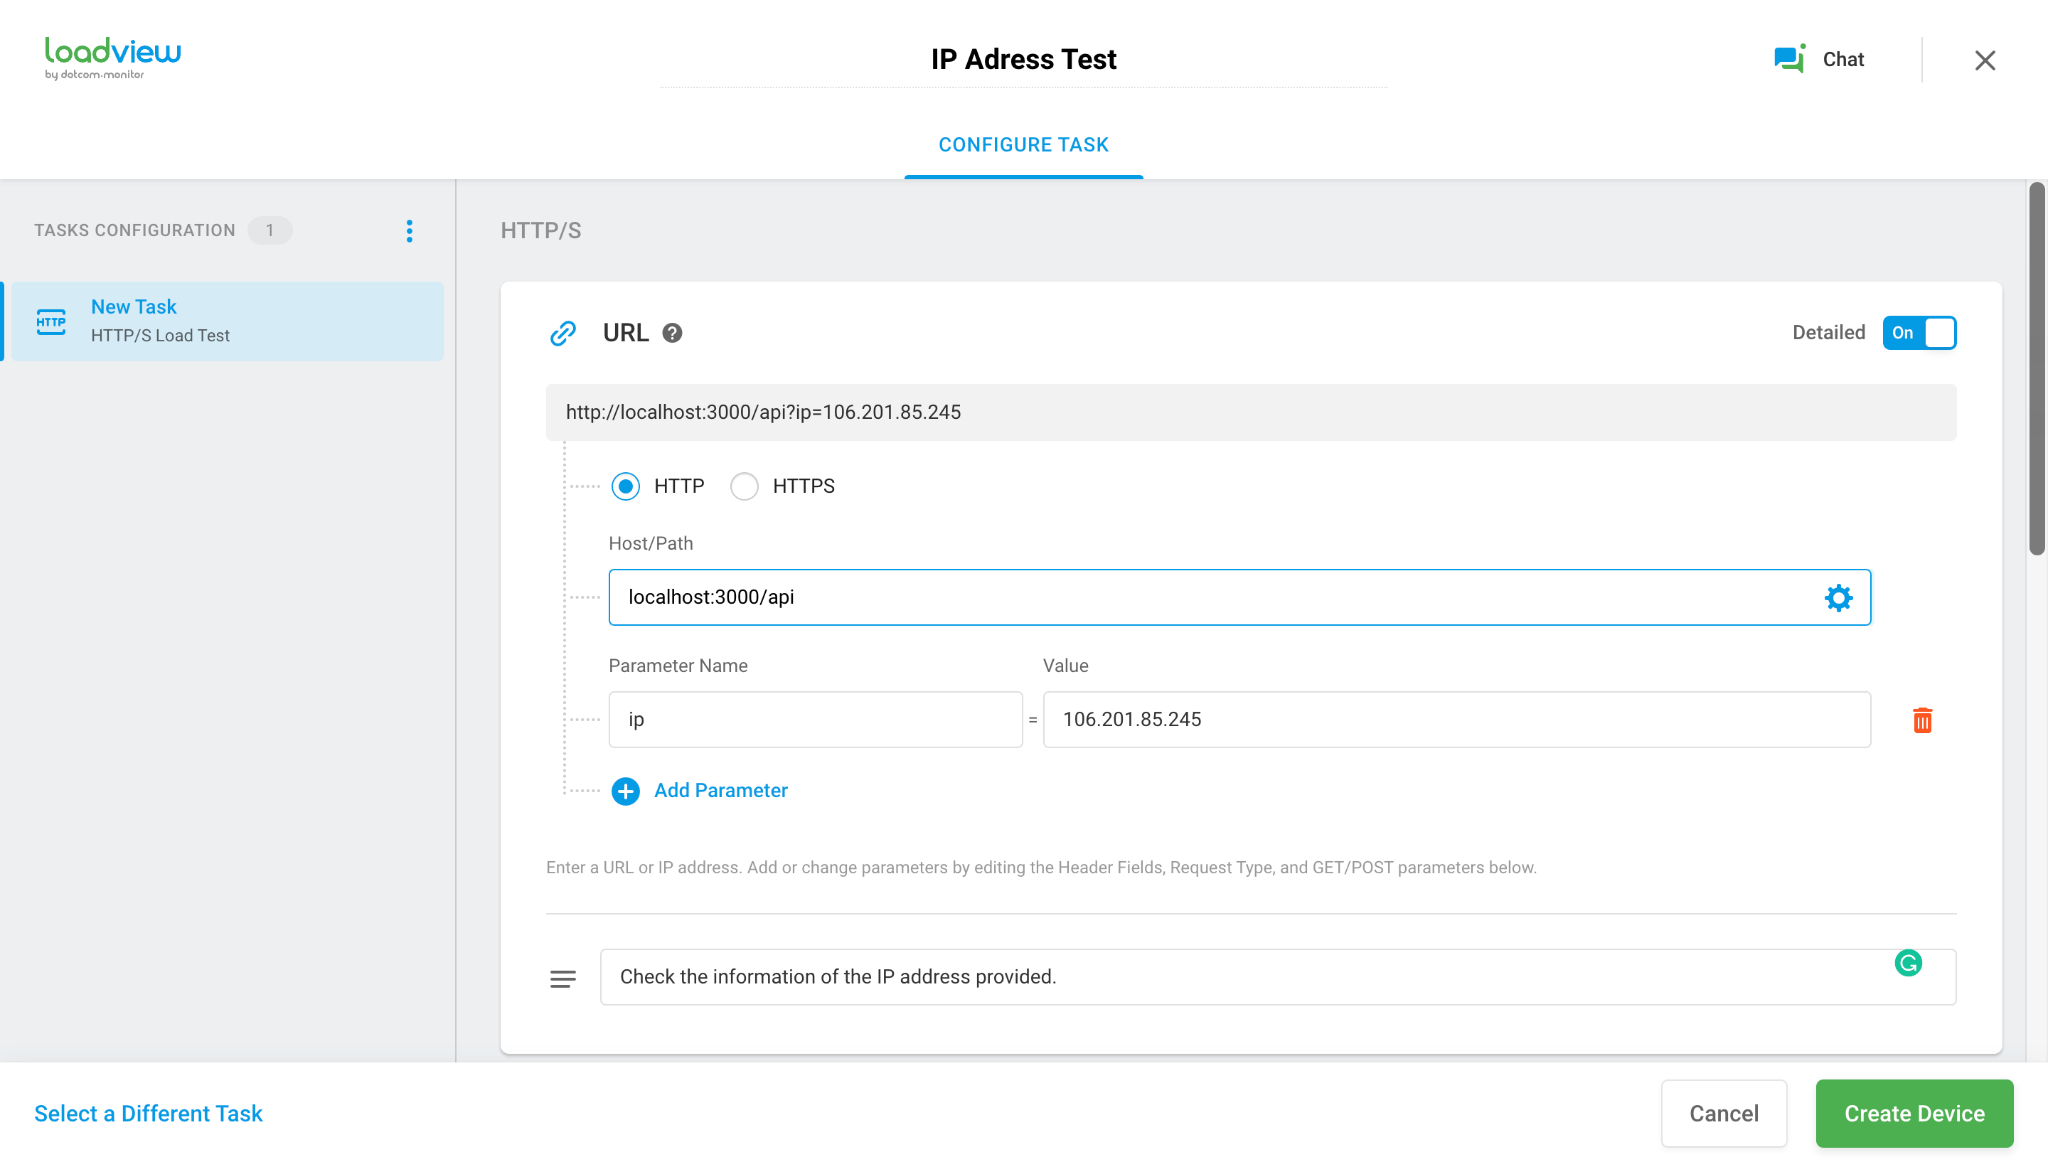
Now you will see the task configuration window. You may change the title of your Device from Untitled to anything else you want. It’s advisable to also add a description to the device referring to the API you are tested.
Since this test API is working locally, we need to run it on HTTP protocol instead of HTTPS.
You will see a detailed slider turned off. Turn it on and you will see radio buttons to select your desired protocol. Select HTTP and then in the hostname type the domain and route of the API.
Note: the above steps are for the locally made APIs. If you have a live API, then you will need to select the HTTPS Protocol.
Click on “Add Parameter,” type “IP” in the parameter name and “106.201.85.245” as the value.
Note: This step is valid only if followed the above API tutorial and made a similar API.
If you correctly followed the above steps, the task configuration URL form should look something like this:
On scrolling down, you will find the settings window. By default the request type is set to GET. Since our API has only a GET request, we’ll leave this as is.
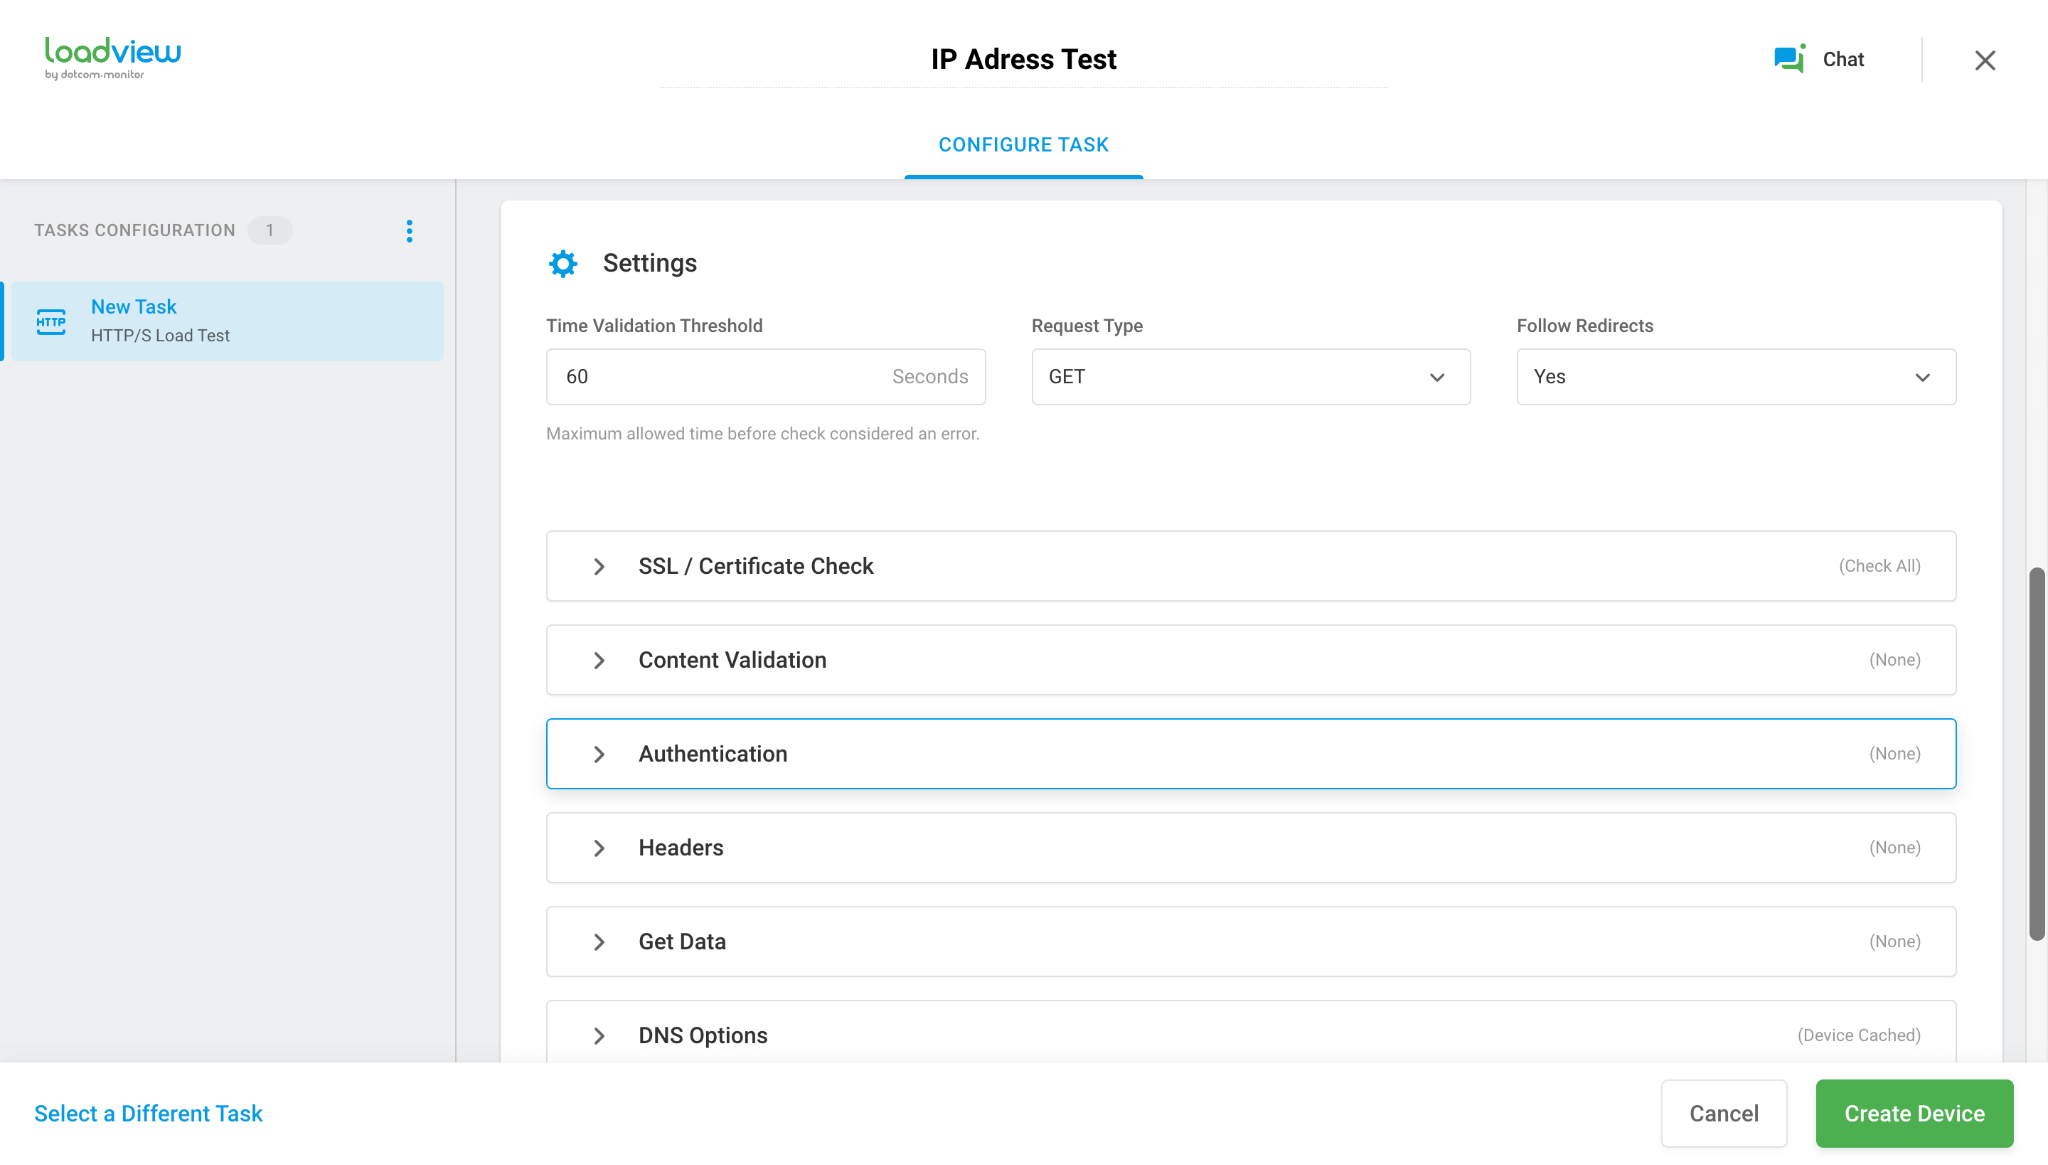
Below are some additional parameters you may want to pass depending on your API. Go through and select all of them.
Note: be careful during checking these as sending a request with incorrect/incomplete parameters may waste your credits.
Step 4: Create a Scenario
This section depends entirely on your use case. For our demo REST API, we’ll use the Load Step Curve with the default number of varying users. Since we are testing a basic API, we don’t need a highly detailed report.
To understand more about the creating scenario, you may refer to our LoadView knowledge base.
Step 5: Final Report
Now your API is going to be subject to a load test. This usually takes about seven to ten minutes, after which you can simply check the report in your dashboard. You can also receive a detailed report by email.
Congratulations, you’ve successfully created a demo API and/or have run a rudimentary load test. To learn more about LoadView, sign up for a free LoadView trial and schedule a one-on-one demo. We’ll be glad to hear from you.